

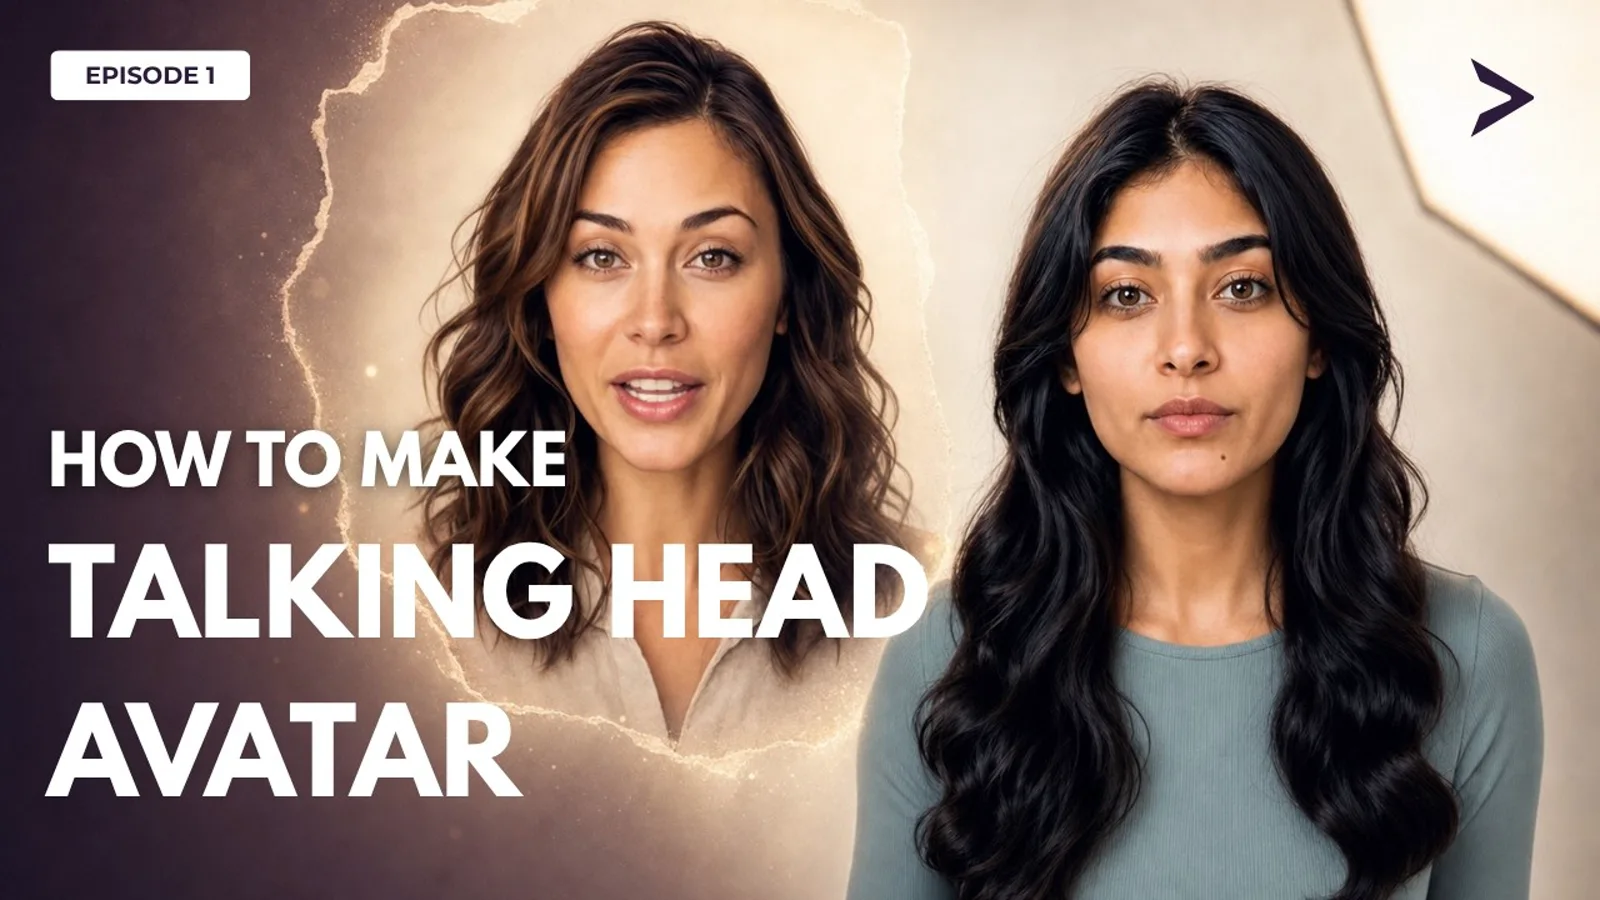
You do not need a camera crew for a talking-head clip. Generate a portrait in AI Studio, save it to your library, then lip-sync it to your audio with VEED Fabric — one still image, one audio file, and a finished clip in a couple of minutes.
Generate your avatar portrait
- 1
Open Image in AI Studio
From the sidebar, open Image in AI Studio — this is where you will generate the portrait that becomes your talking head.
ImageLeft sidebar menuEkly Studio - Image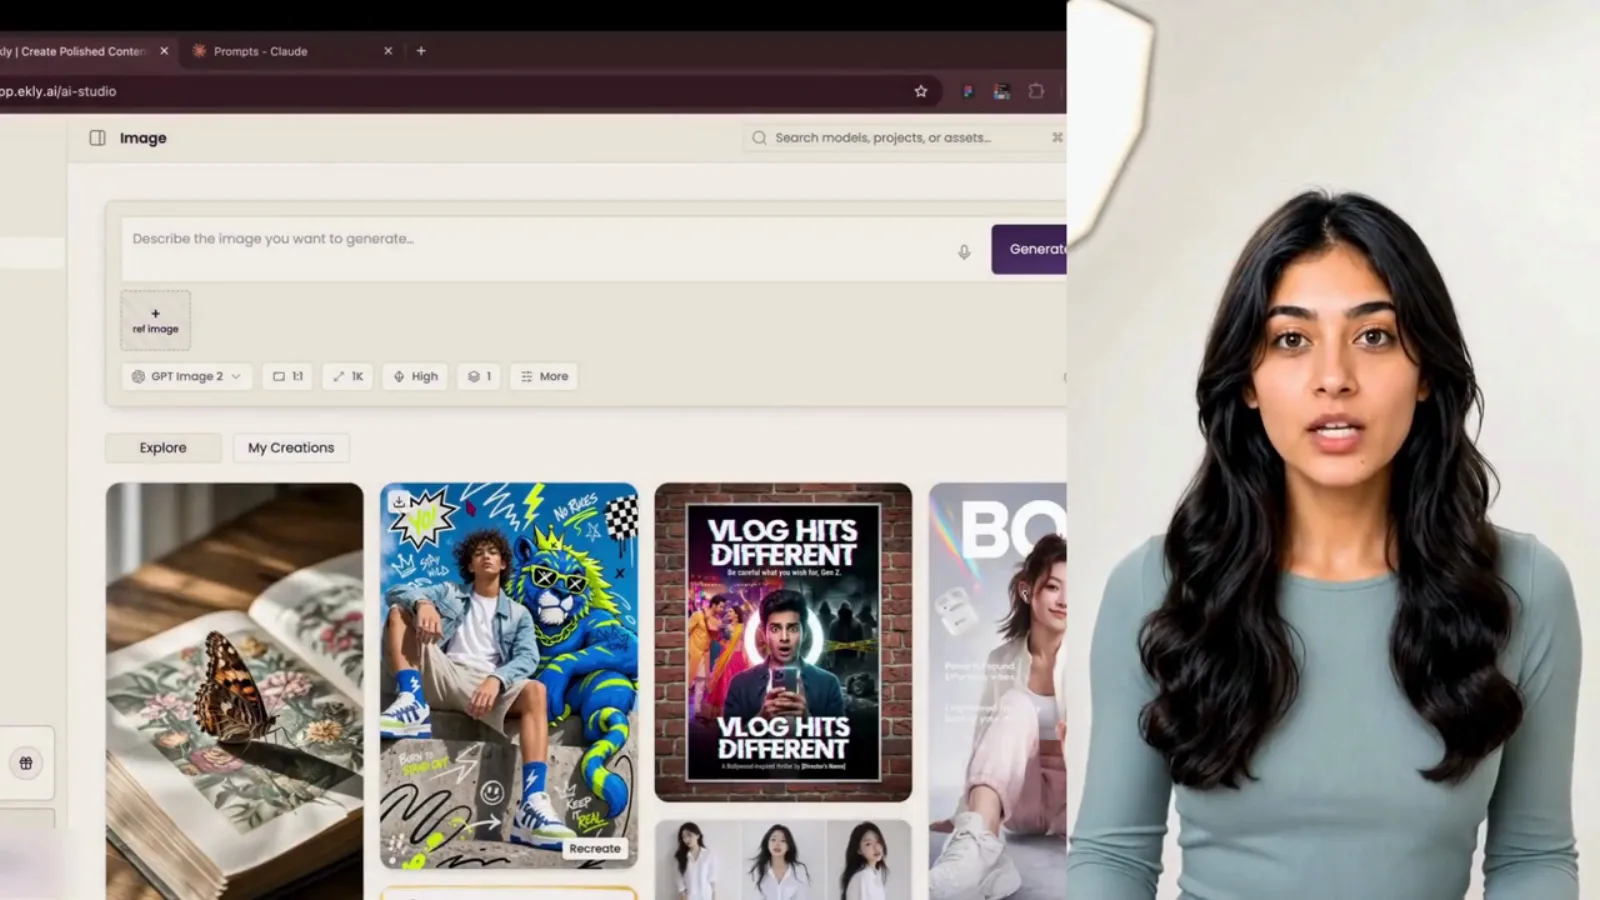
Step 1 “Hey everyone. Today I'm going to show you how to create a talking head avatar in Accely. From a single photo to a fully lip-synced clip. Let's dive in.”
- 2
Write a portrait prompt in Claude or ChatGPT
Ask your chat tool for a detailed headshot prompt — front-facing, clean background, neutral expression. You want text that describes the face, not the whole video.
Prompt text areaClaude web interfaceClaude AI Chat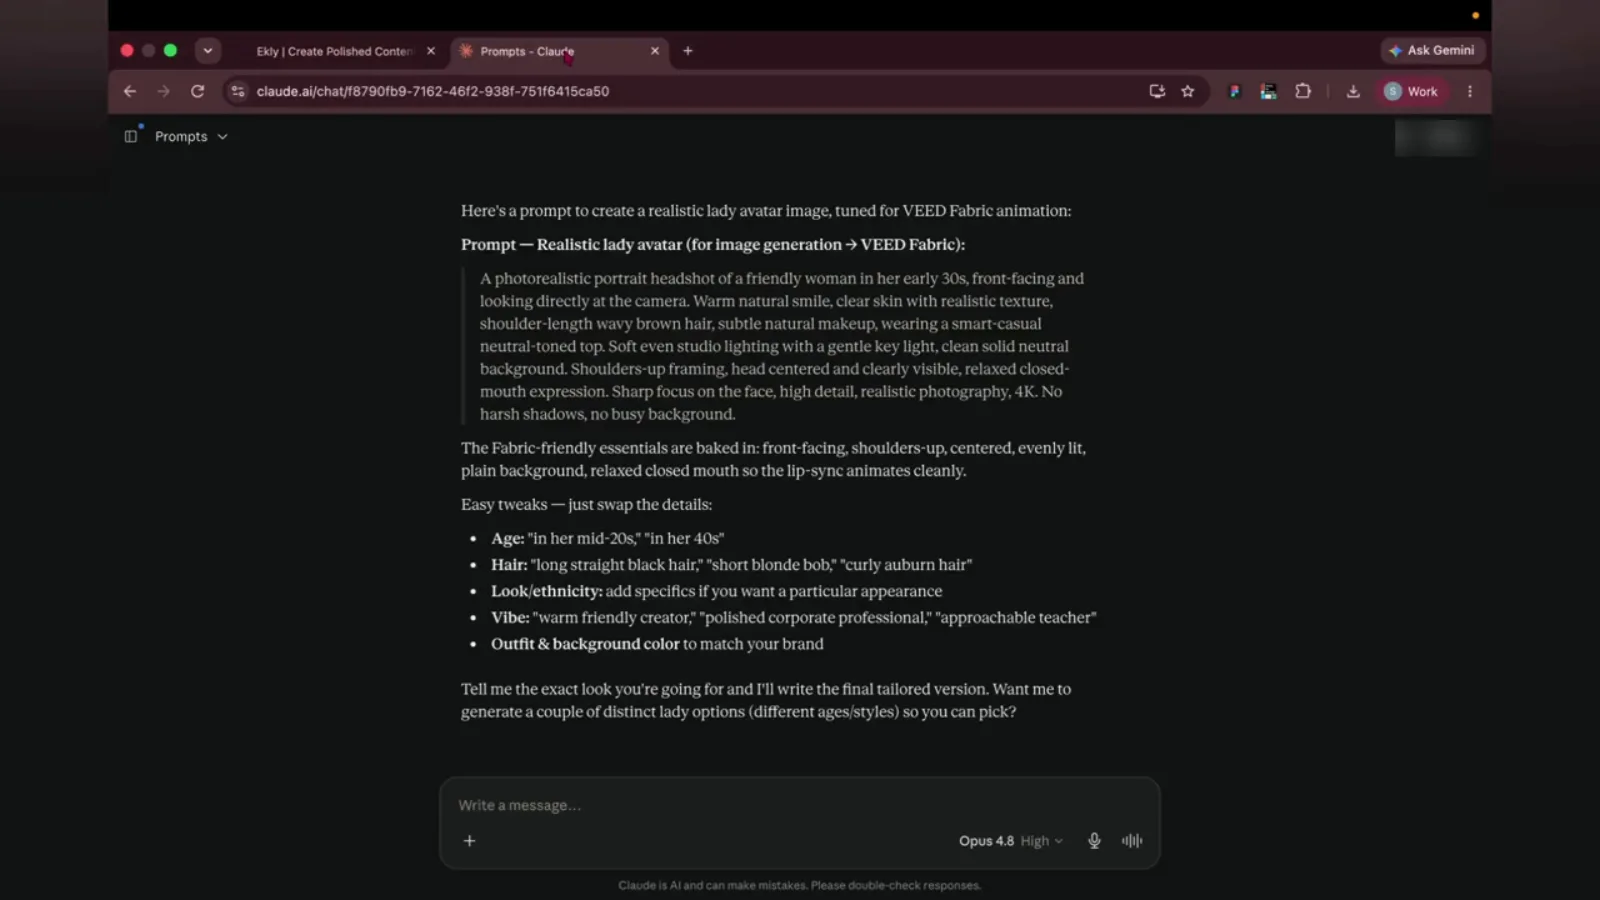
Step 2 “So the first step is we go to Claude or ChatGPT and ask it to generate us a prompt that would give us the avatar face.”
- 3
Copy the prompt
Select the generated prompt and copy it to your clipboard.
Copy link to HighlightClaude chat response context menuClaude AI Chat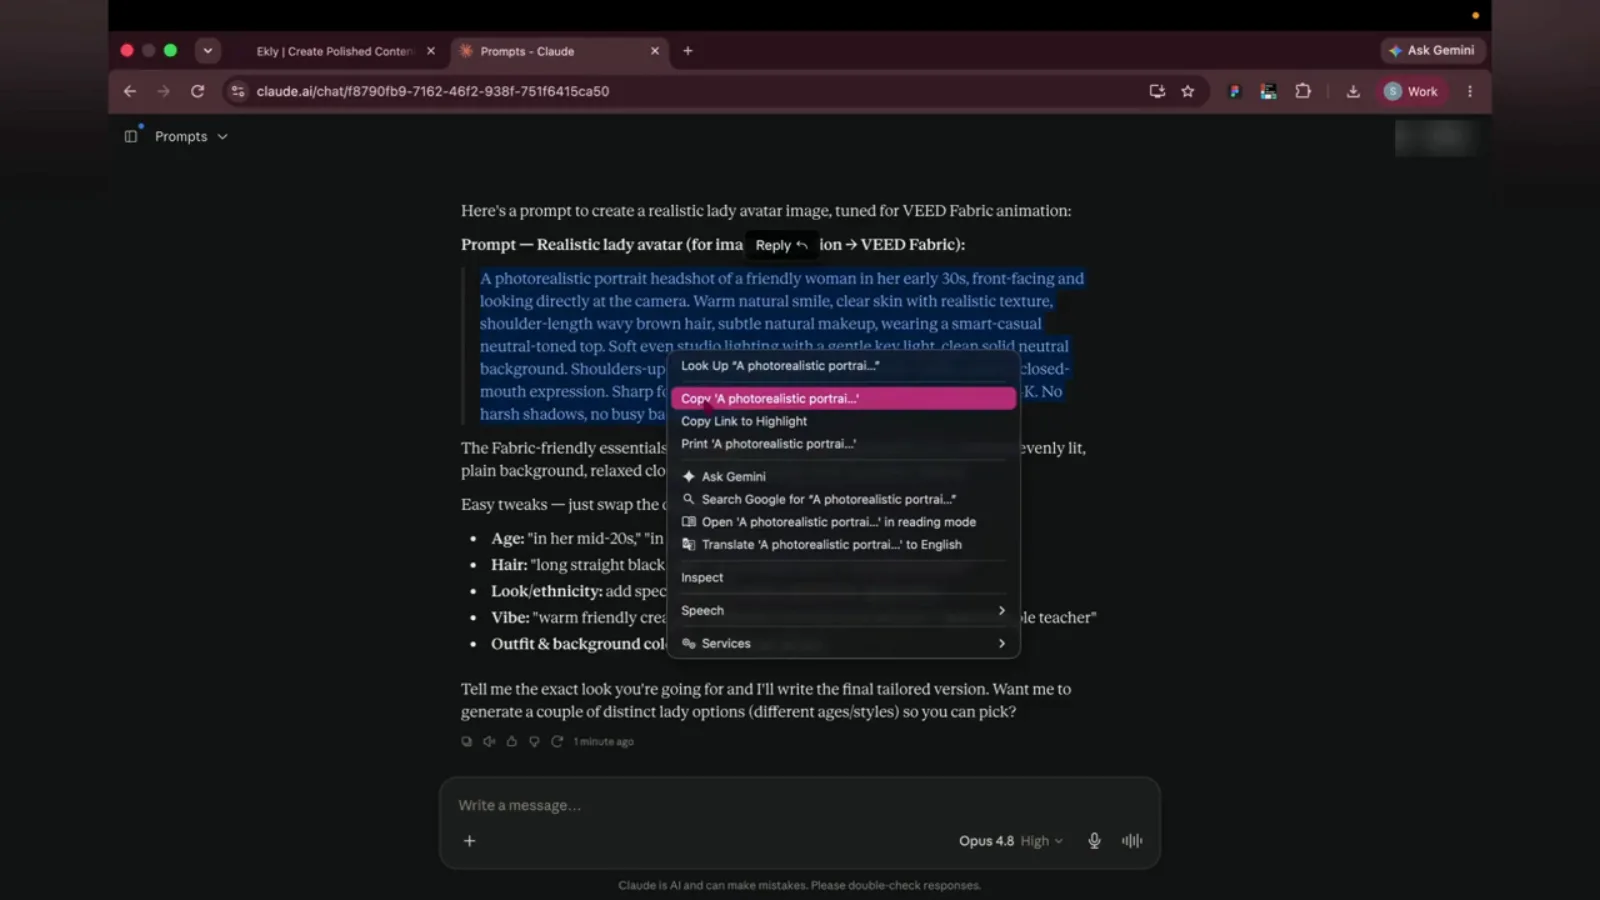
Step 3 “So I have already got a prompt. I'm going to copy it”
- 4
Paste the prompt in AI Studio
Back in Ekly, paste the prompt into the image description field.
Describe the image you want to generate...Top center prompt cardEkly Studio - Image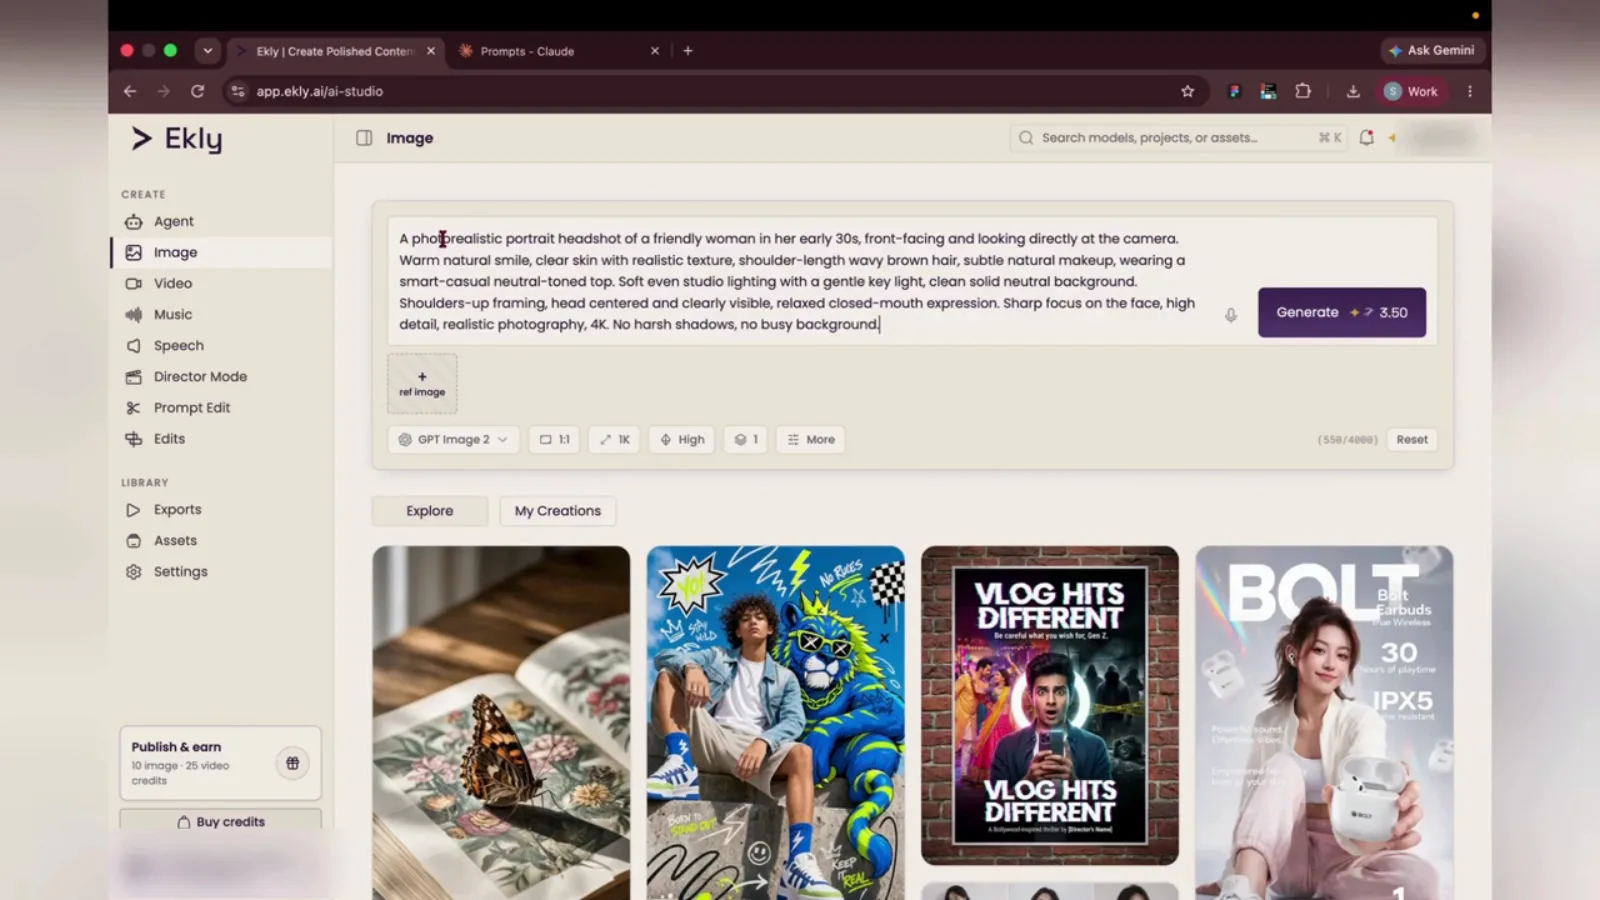
Step 4 “and paste it in the image prompt placeholder,”
- 5
Generate with GPT Image 2
Choose GPT Image 2 and click Generate. A clear, front-facing portrait works best for lip sync later.
GenerateTop right of the prompt cardEkly Studio - Image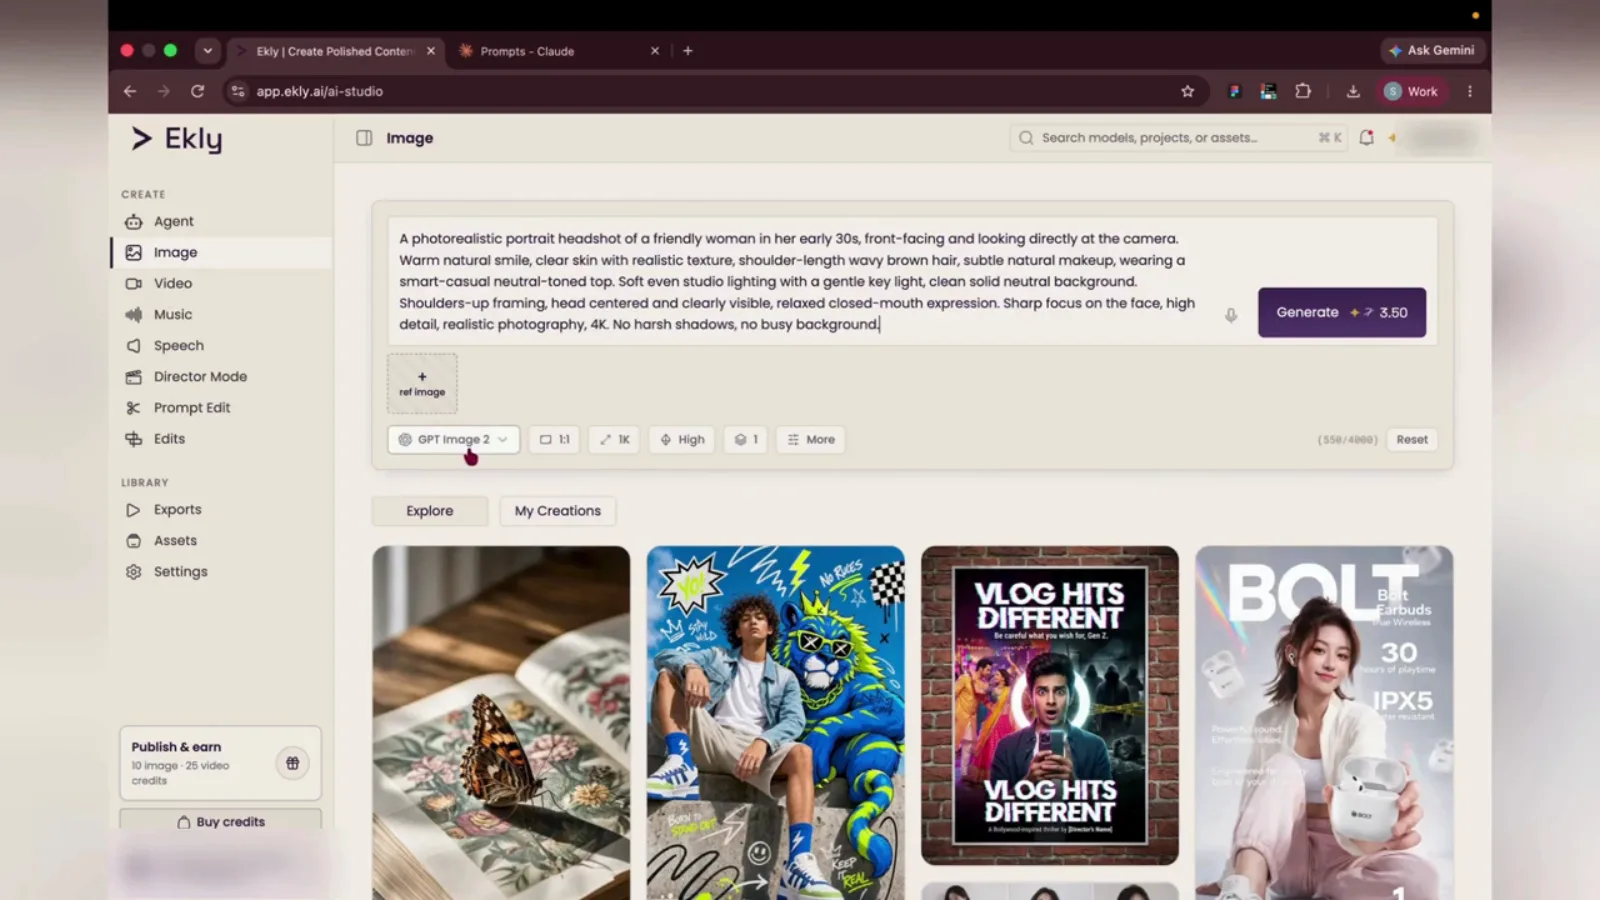
Step 5 “and I'm currently using the GPT Image 2 model, and I'll hit Generate.”
- 6
Save the portrait to your library
Open the result and click Save so you can reuse the image in the video step.
SaveBottom action bar of the image preview modalImage Preview Modal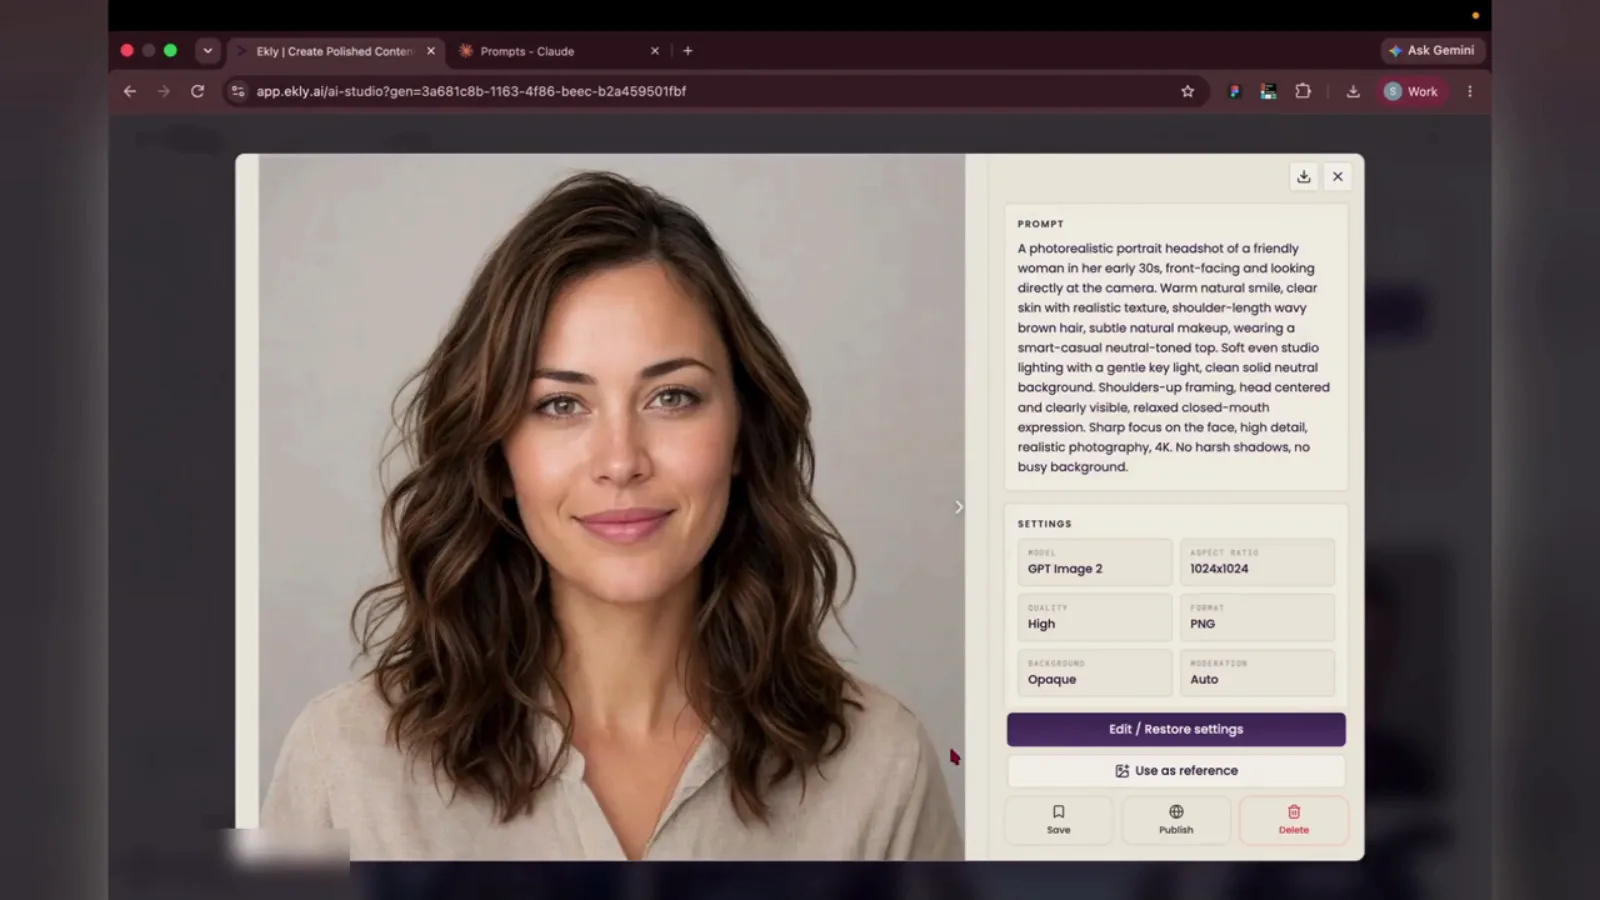
Step 6 “So we have the result. I'll take this image and save it in my assets. I've saved this image in the asset folder.”
Create the talking-head clip
- 7
Switch to Video in AI Studio
Open Video in the sidebar — same studio, different tab.
VideoLeft sidebar menu under CreateEkly Studio - Video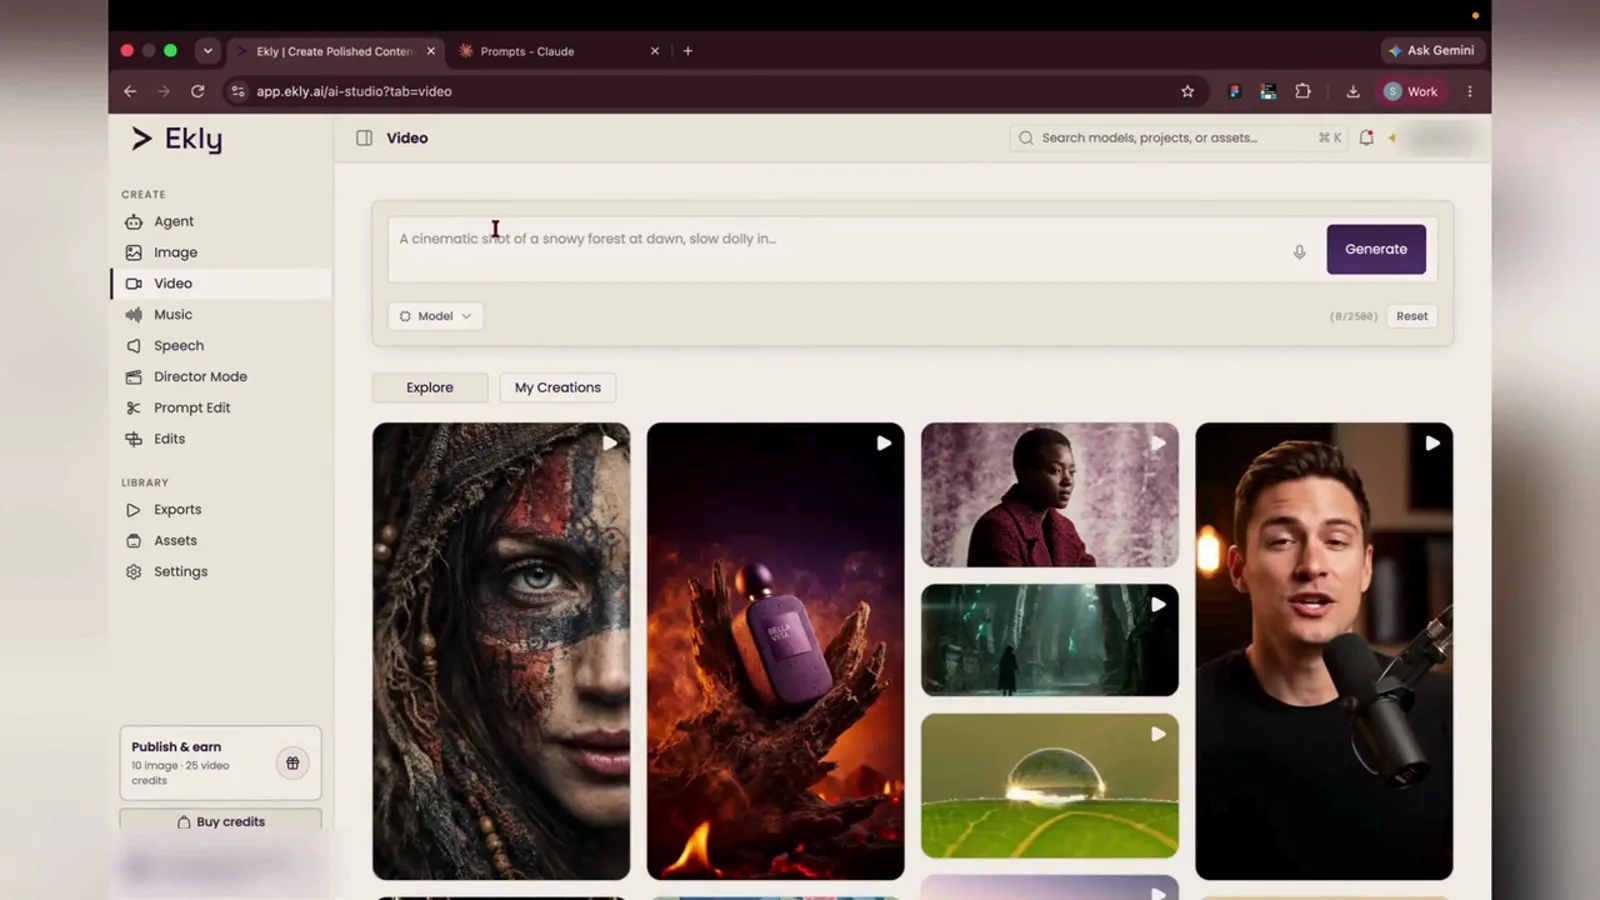
Step 7 “Now I'll head over to the video generation section.”
- 8
Choose VEED Fabric
Pick VEED Fabric from the model menu. This model lip-syncs a still image to your audio.
VEED FabricModel dropdown menuEkly Studio - Video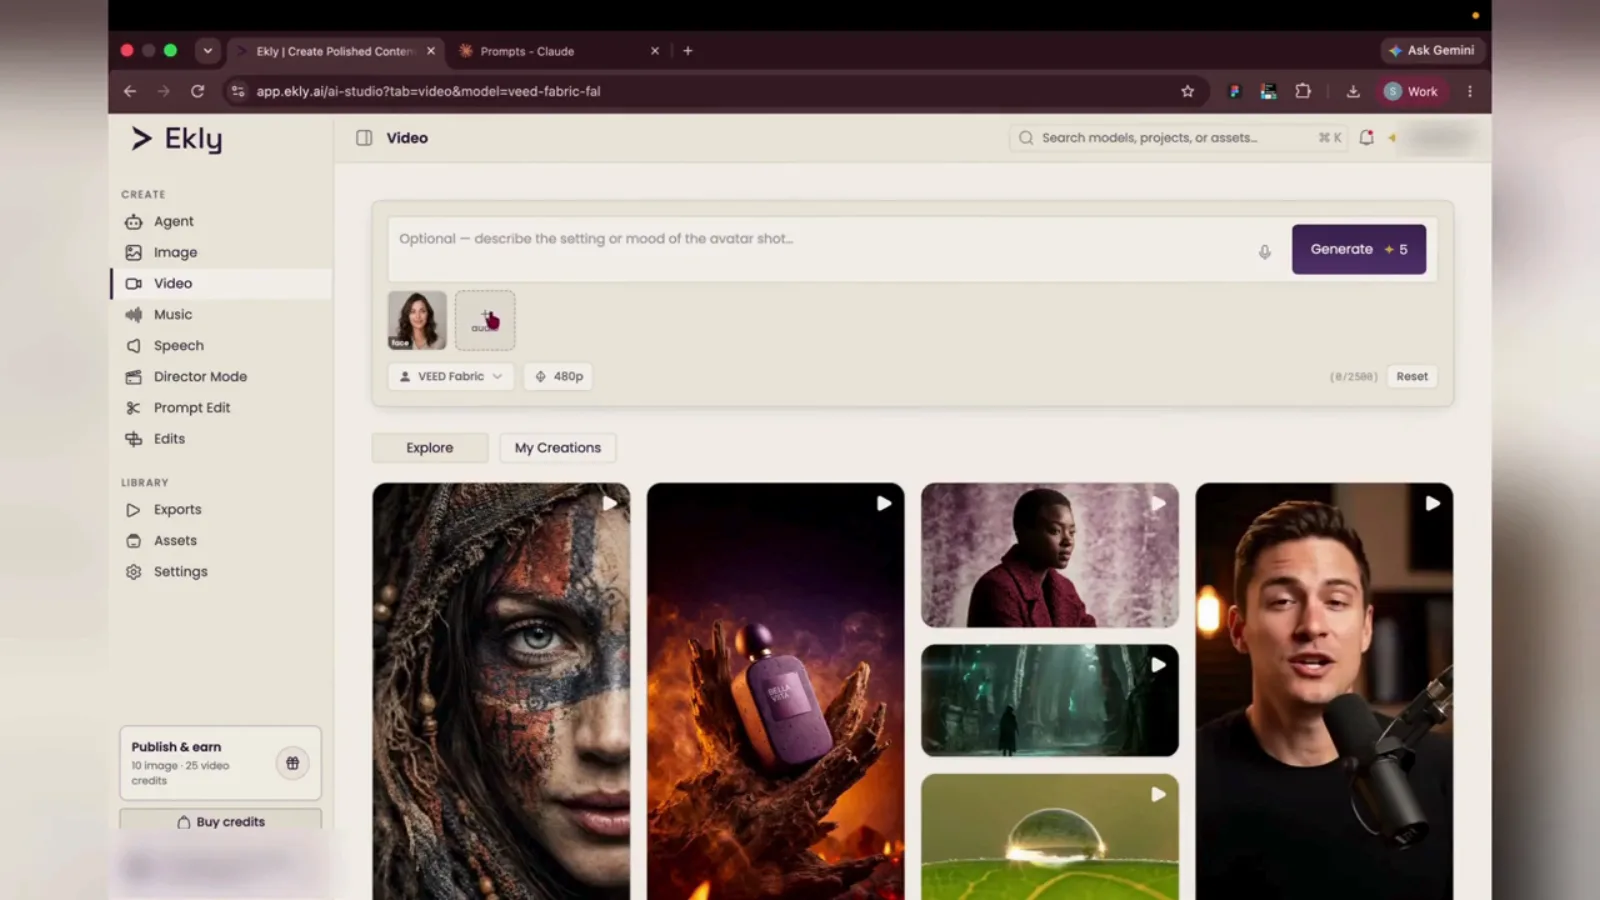
Step 8 “I'll use the model called Veet Fabric to make the talking avatar, and I'll use the image we already generated.”
- 9
Add your driving audio
Upload the audio clip you want the avatar to speak — this drives the lip sync and timing.
OpenFile picker dialogFile Picker Dialog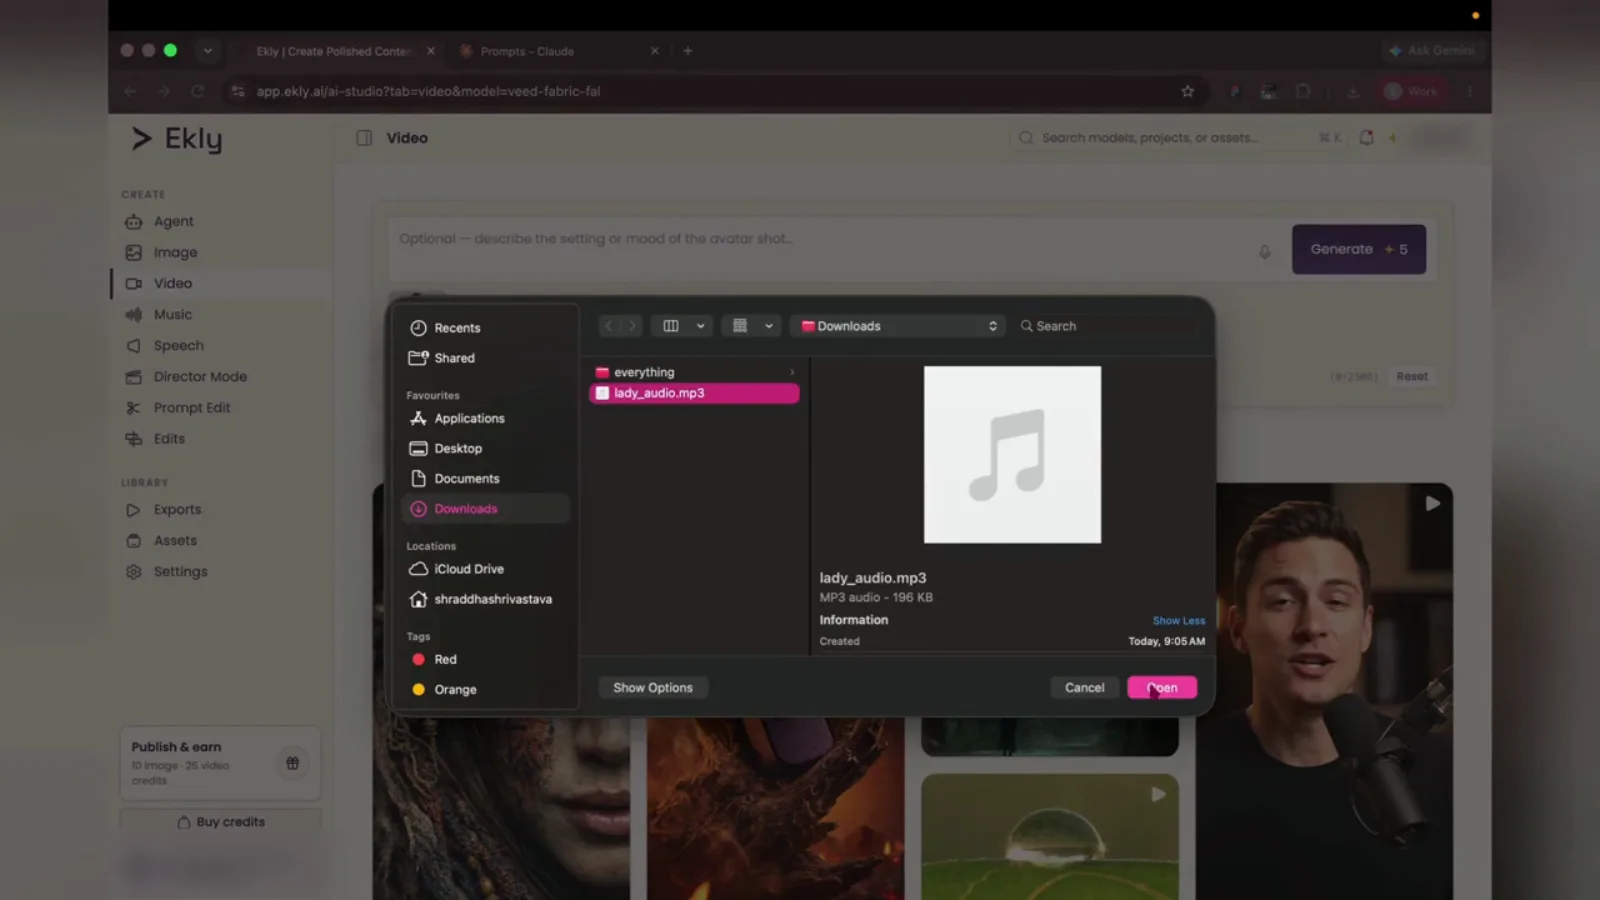
Step 9 “I already have the audio file I'm going to use, so I'll add that.”
- 10
Pick a resolution
480p is enough for a quick draft; bump it up if you need a sharper export.
480pResolution dropdown menuEkly Studio - Video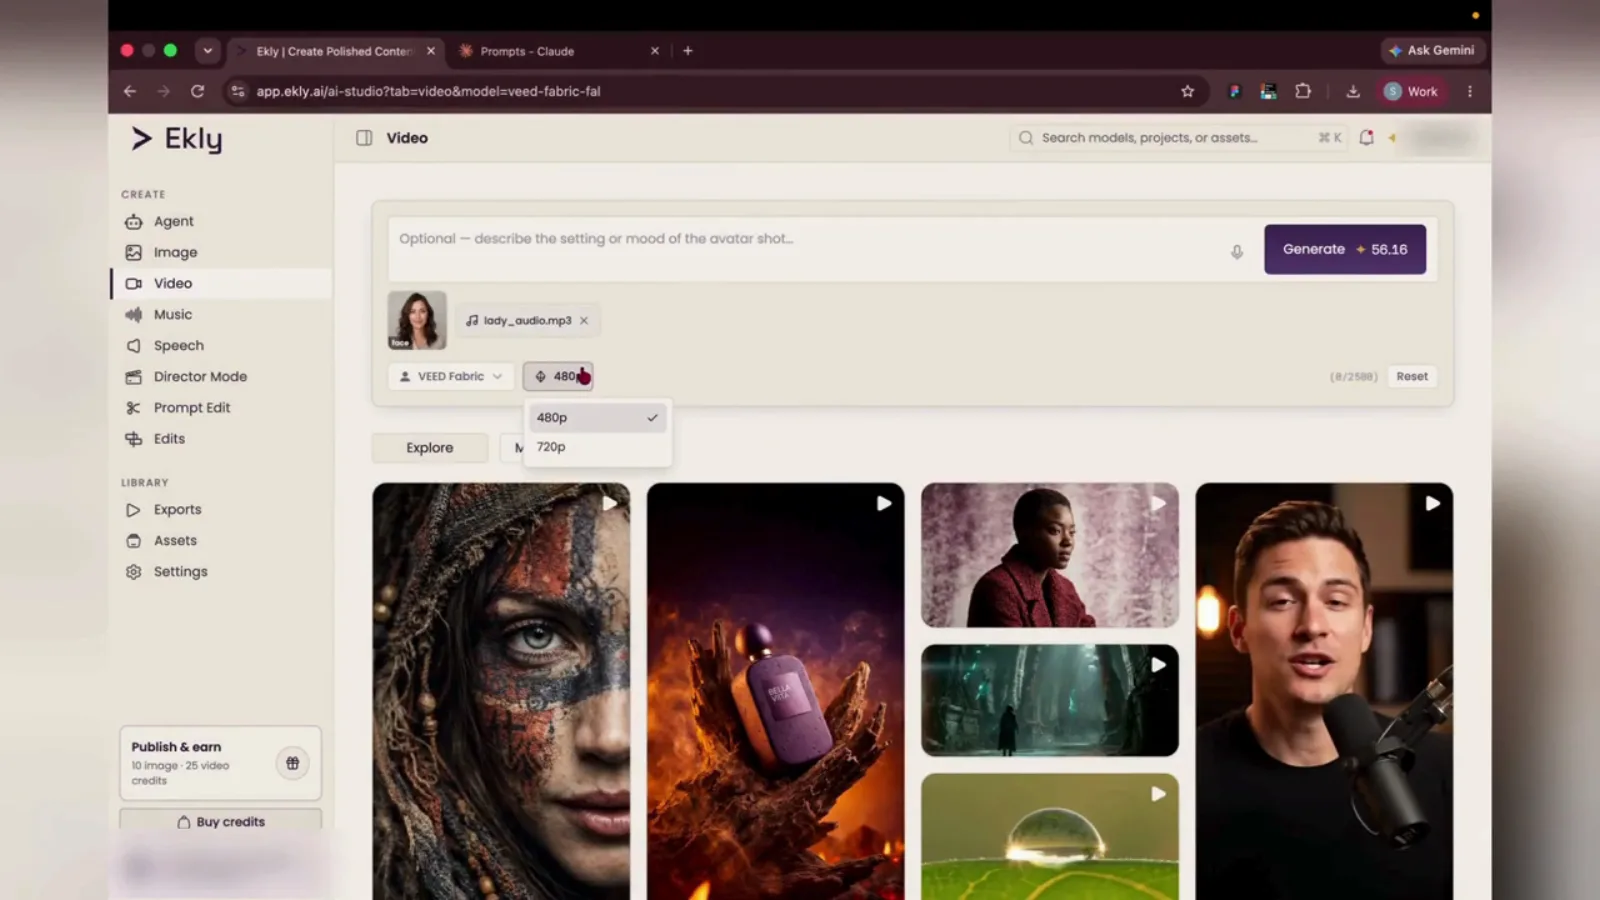
Step 10 “We can even change the resolution. Four-eighty p works fine.”
- 11
Generate the talking clip
Hit Generate and wait for the render to finish.
GenerateTop right of the video setup cardEkly Studio - Video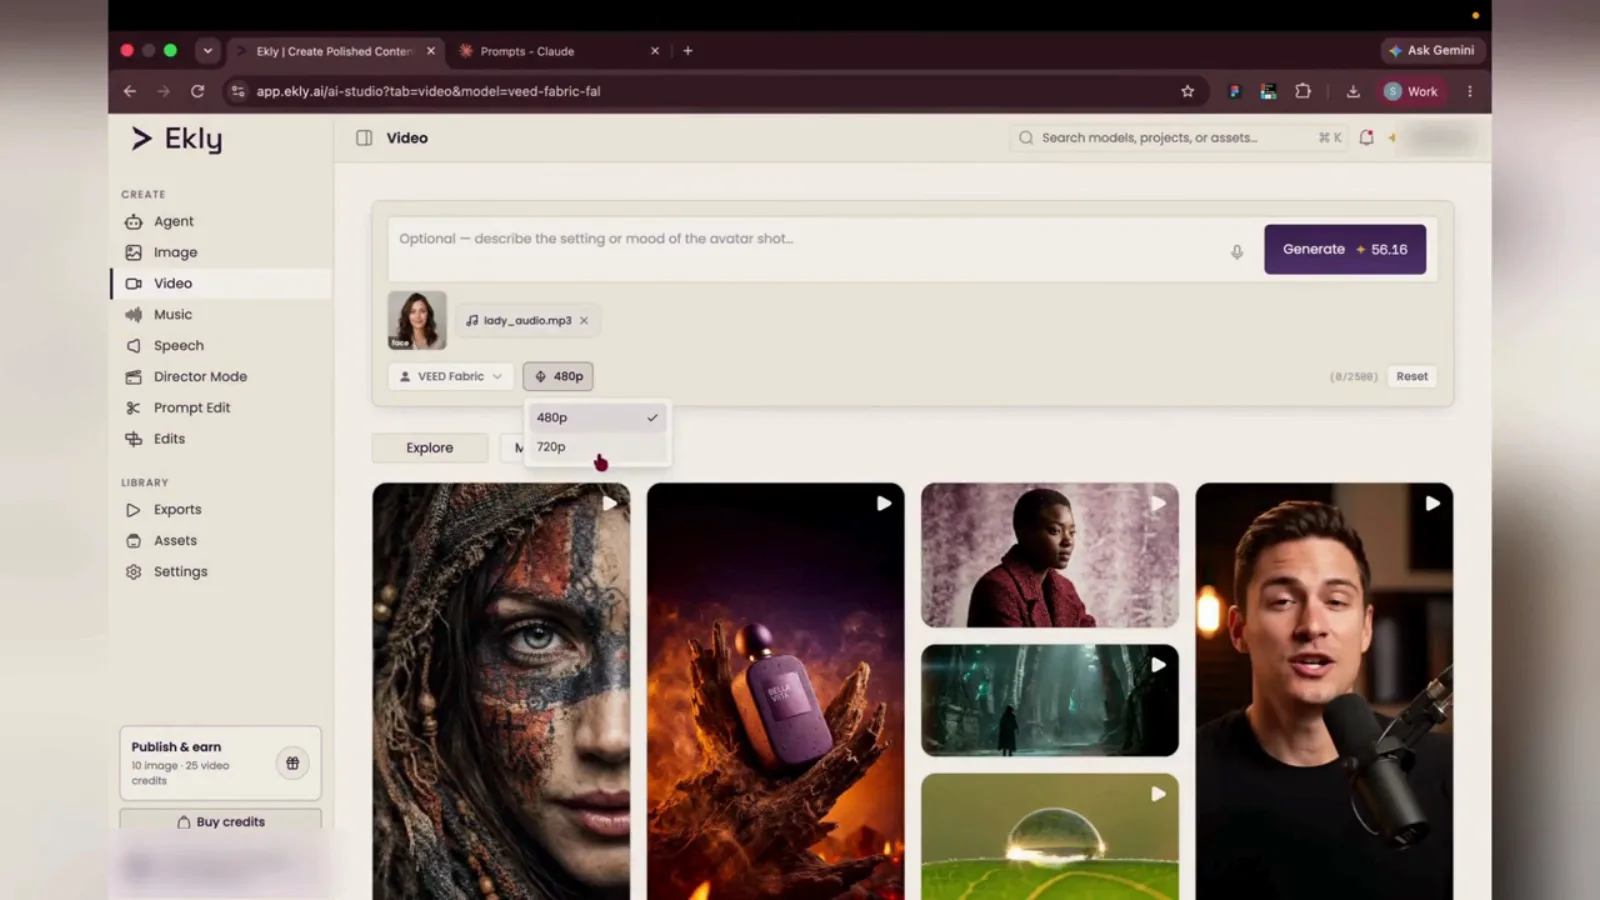
Step 11 “So let's hit Generate and wait for the result.”
Review the result
- 12
Review the lip-synced result
Play the clip and check that the mouth matches your audio before you download or reuse it.
Video PlayerCenter preview modalEkly Studio - Video Result ModalGenerated result