

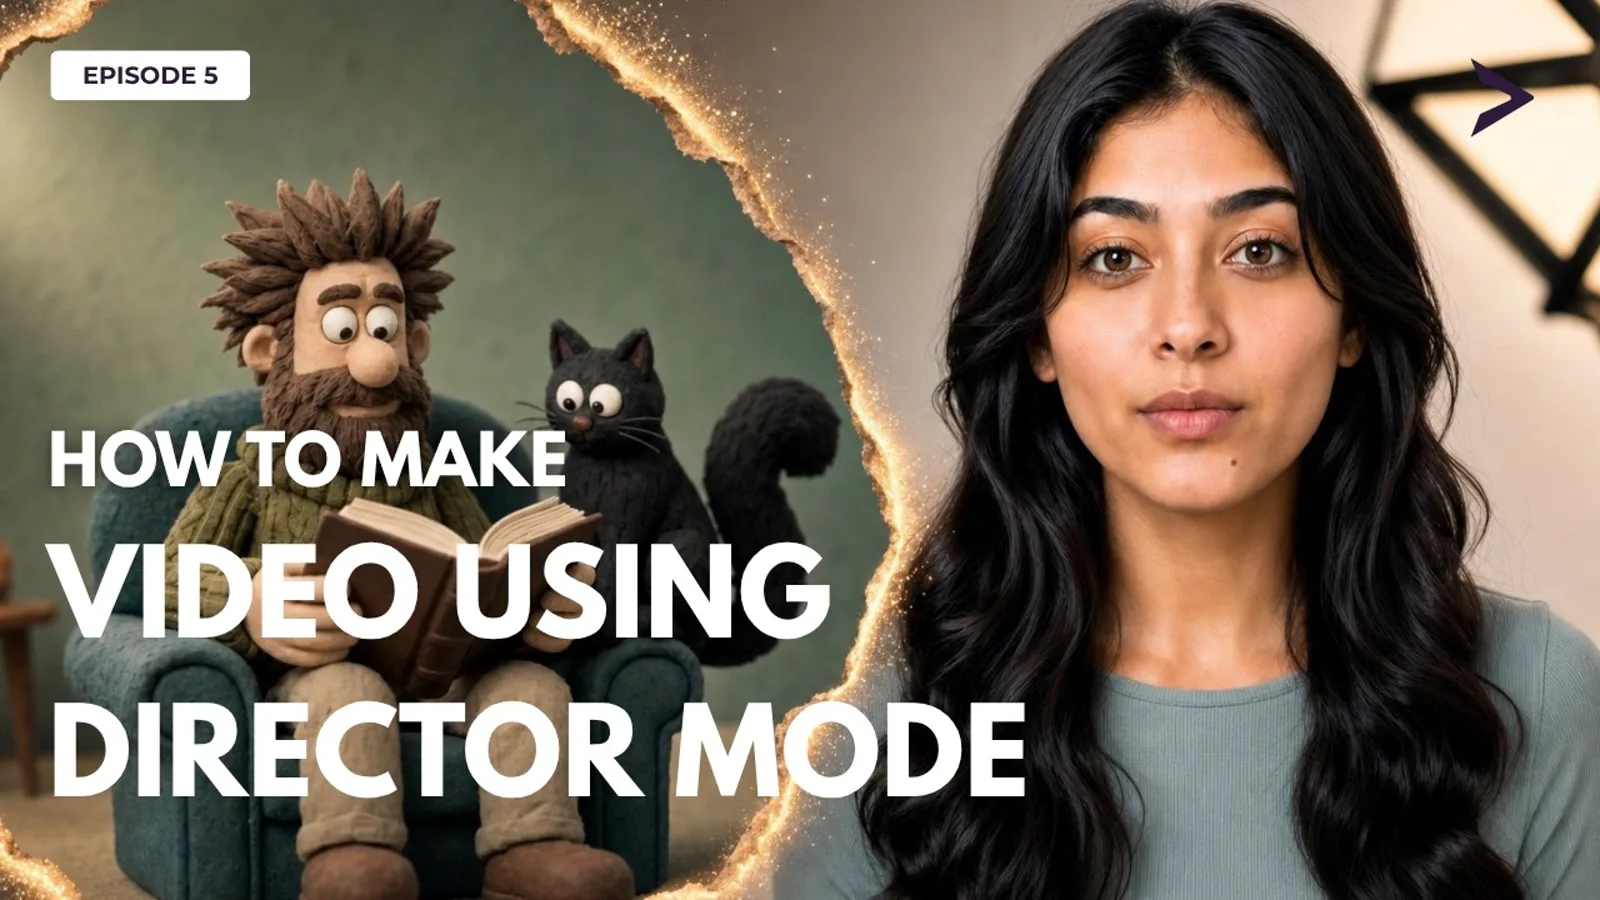
Director Mode is where multi-scene videos come together — attach a character sheet so every shot stays consistent, write a script prompt per scene, generate each roll, then send the storyboard to the editor and export.
Start a Director Mode project
- 1
Start a new Director Mode project
From the Director Mode dashboard, click New Director Mode in the top-right corner.
New Director ModeTop right header of the Director Mode dashboardDirector Mode Dashboard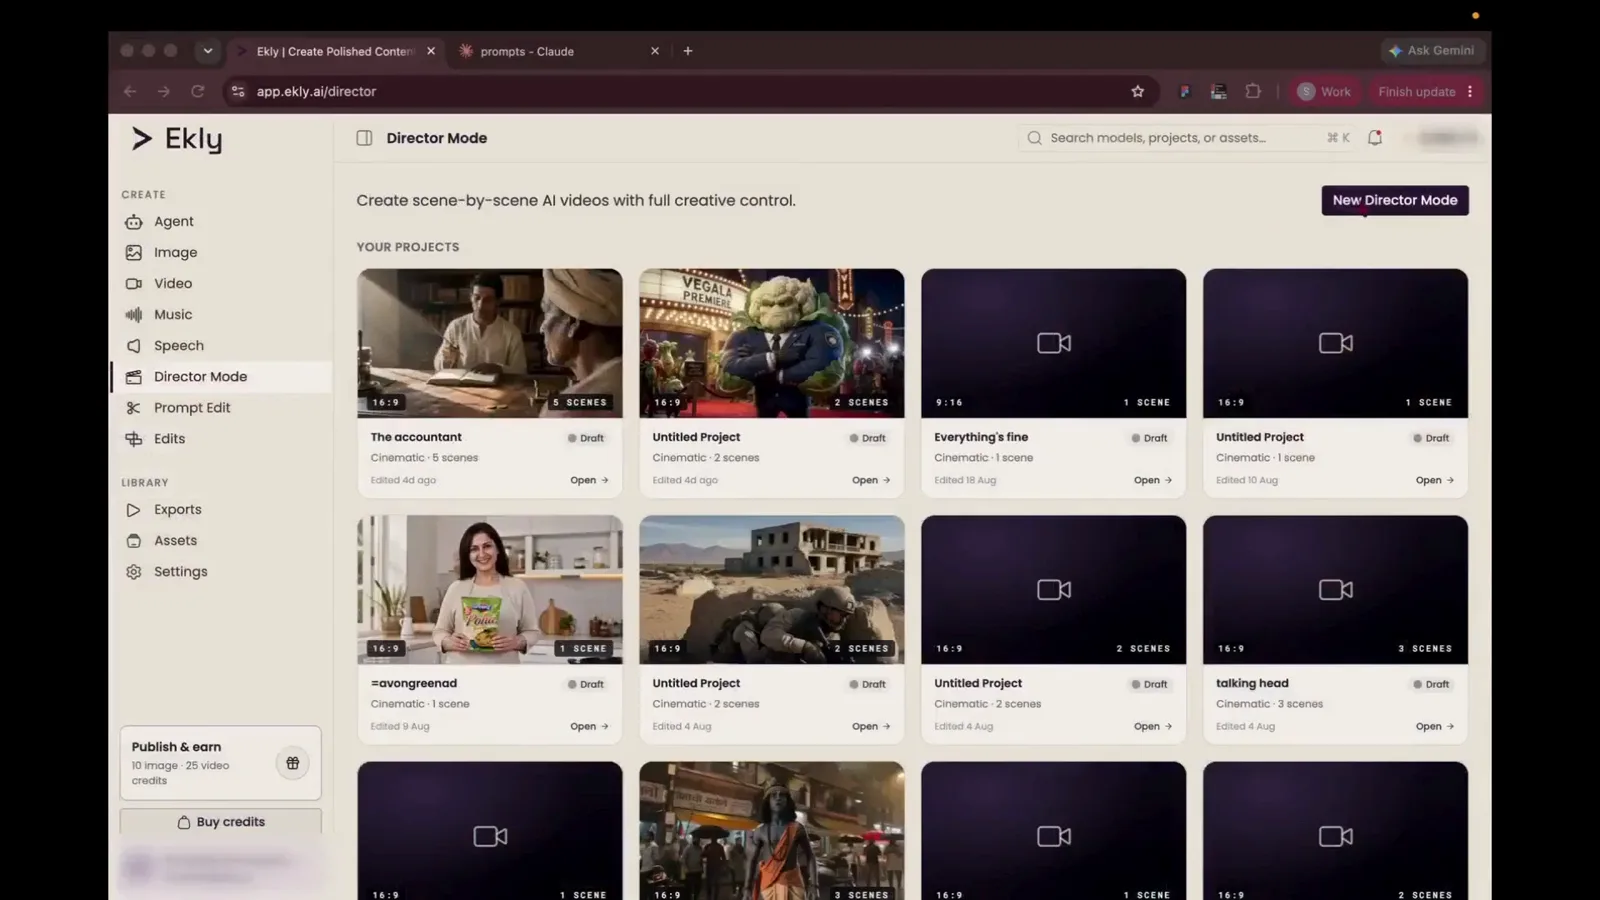
Step 1 “So the first step is we create a new director mode project.”
- 2
Add your first scene
Click the + ADD SCENE placeholder in the center of the canvas — each scene is one roll in your storyboard.
ADD SCENE button (+ icon)Center of the project workspaceDirector Mode Canvas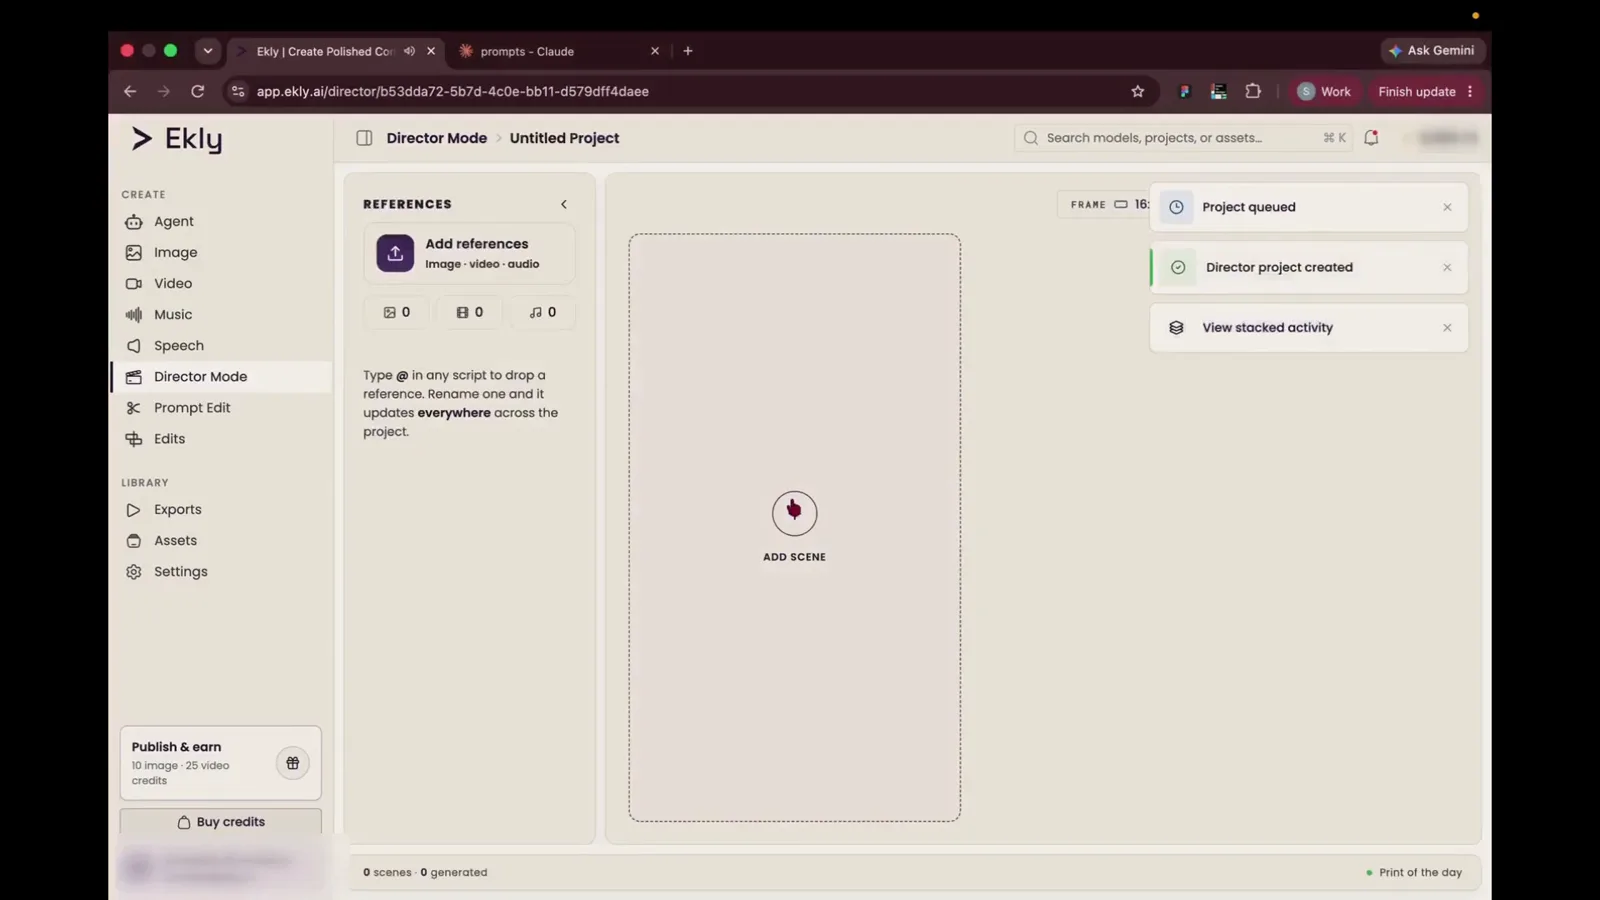
Step 2 “We can add our scene.”
Add a character reference
- 3
Open your image assets
Click Image in the left sidebar to browse generated stills and character sheets you have already saved.
ImageLeft navigation panel under CREATEDirector Mode Canvas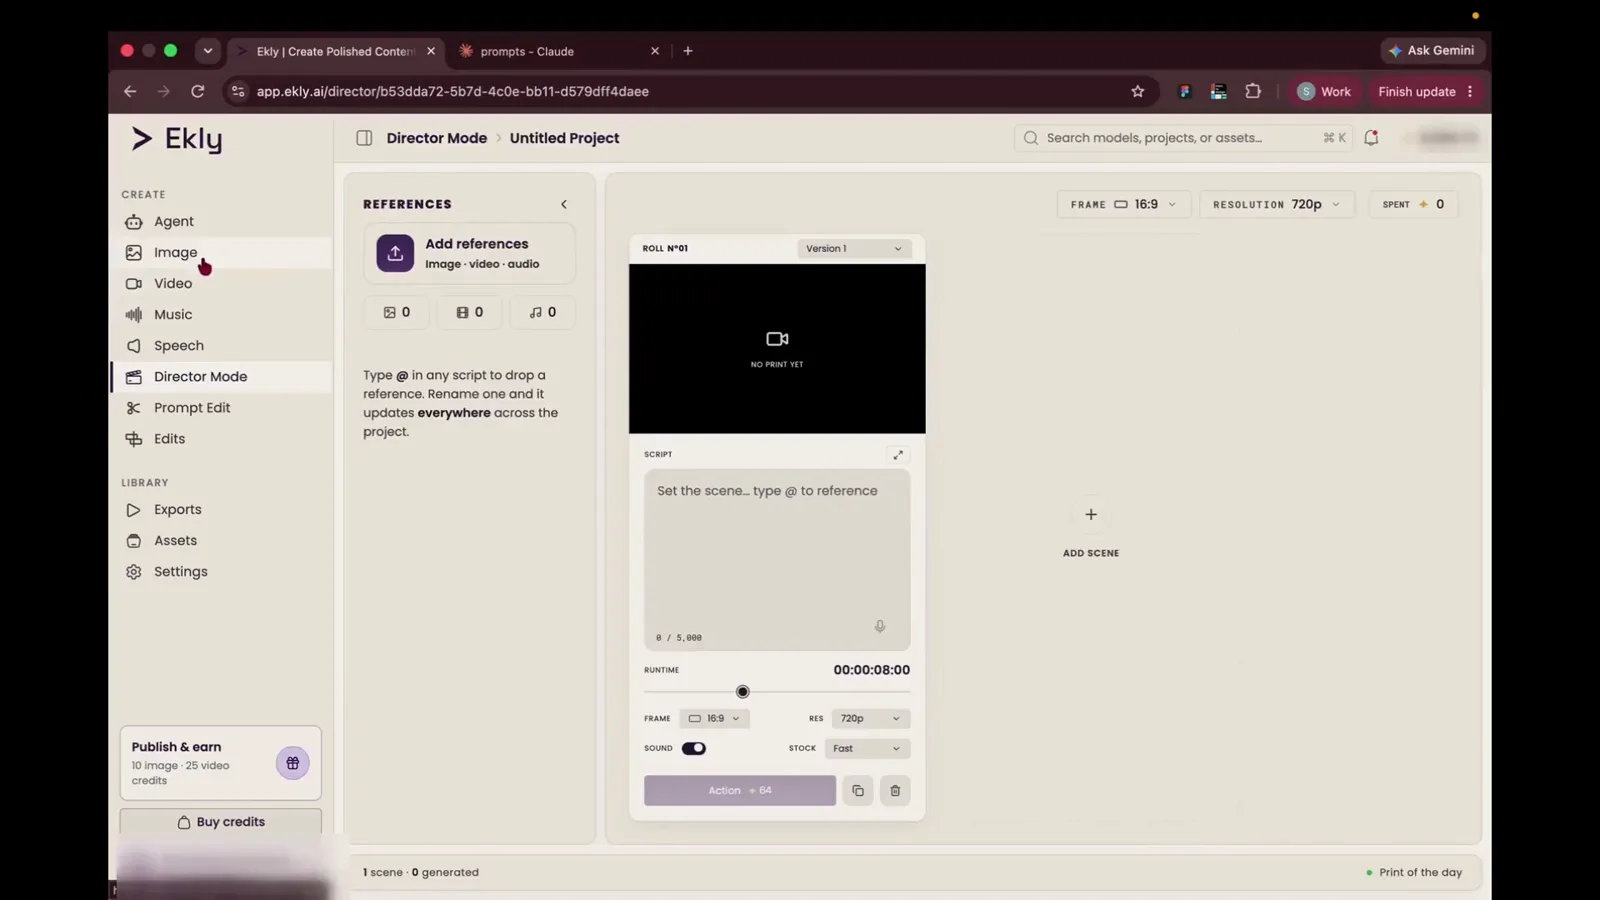
Step 3 “So I have a reference character sheet which I had created earlier.”
- 4
Save the character sheet
Select your character sheet and click Save so it stays in your account assets for reuse across projects.
SaveBottom bar of the Image Details modalImage Details Modal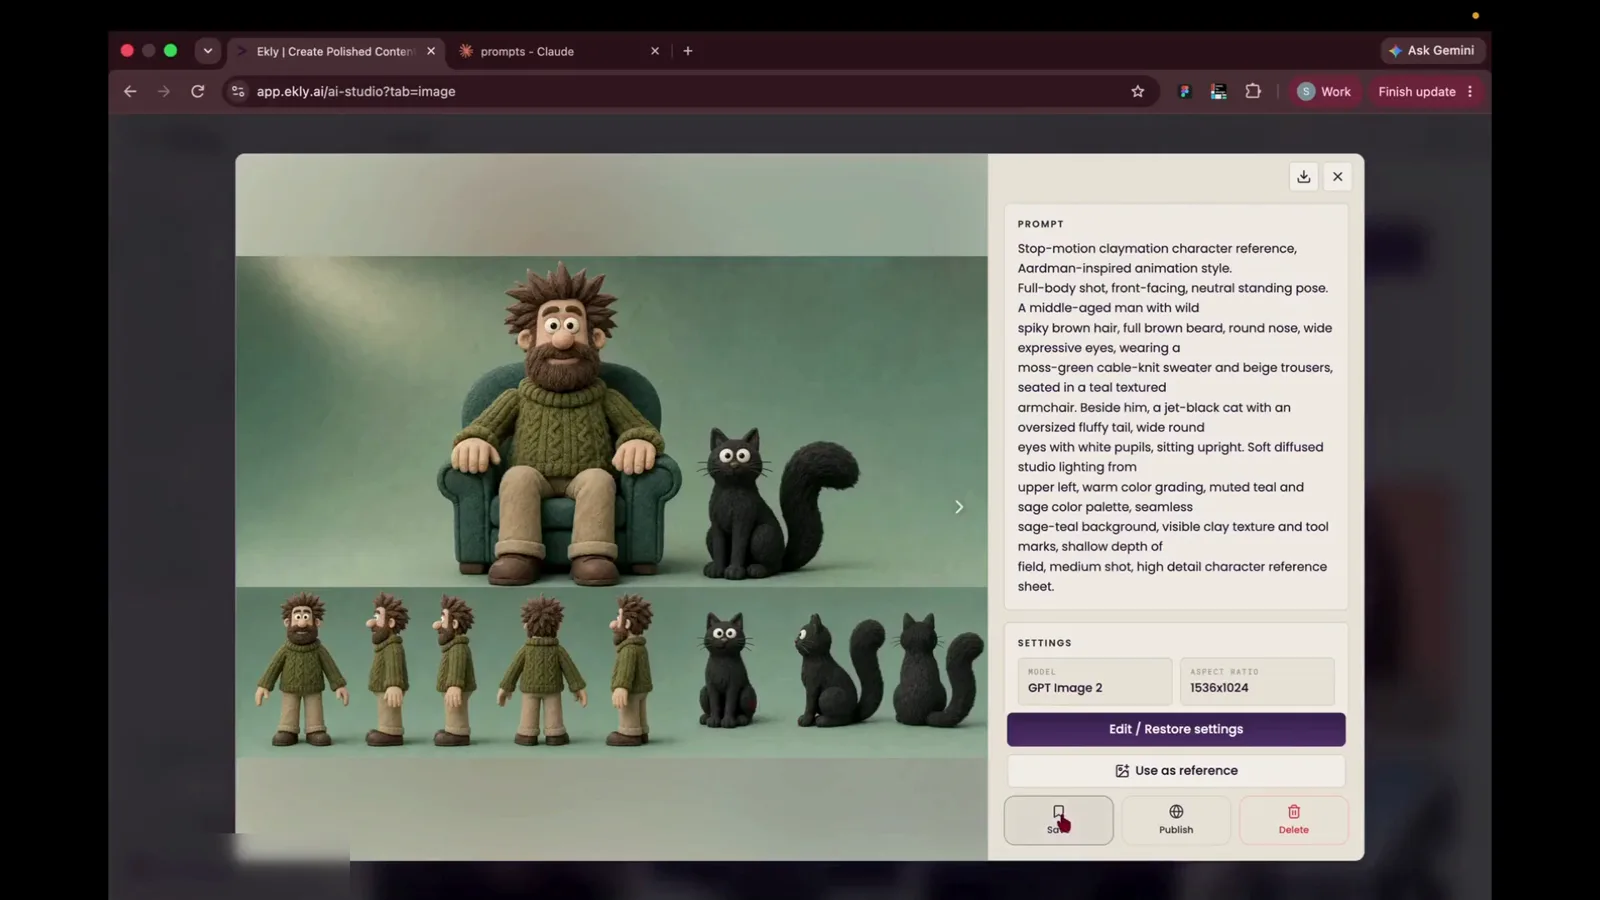
Step 4 “So I'm gonna save this asset.”
- 5
Attach it as a project reference
In the References panel, click Add references, switch to All Assets, and select the character sheet you just saved.
All Assets tabTop tab navigation in the Select Reference modalSelect Reference Modal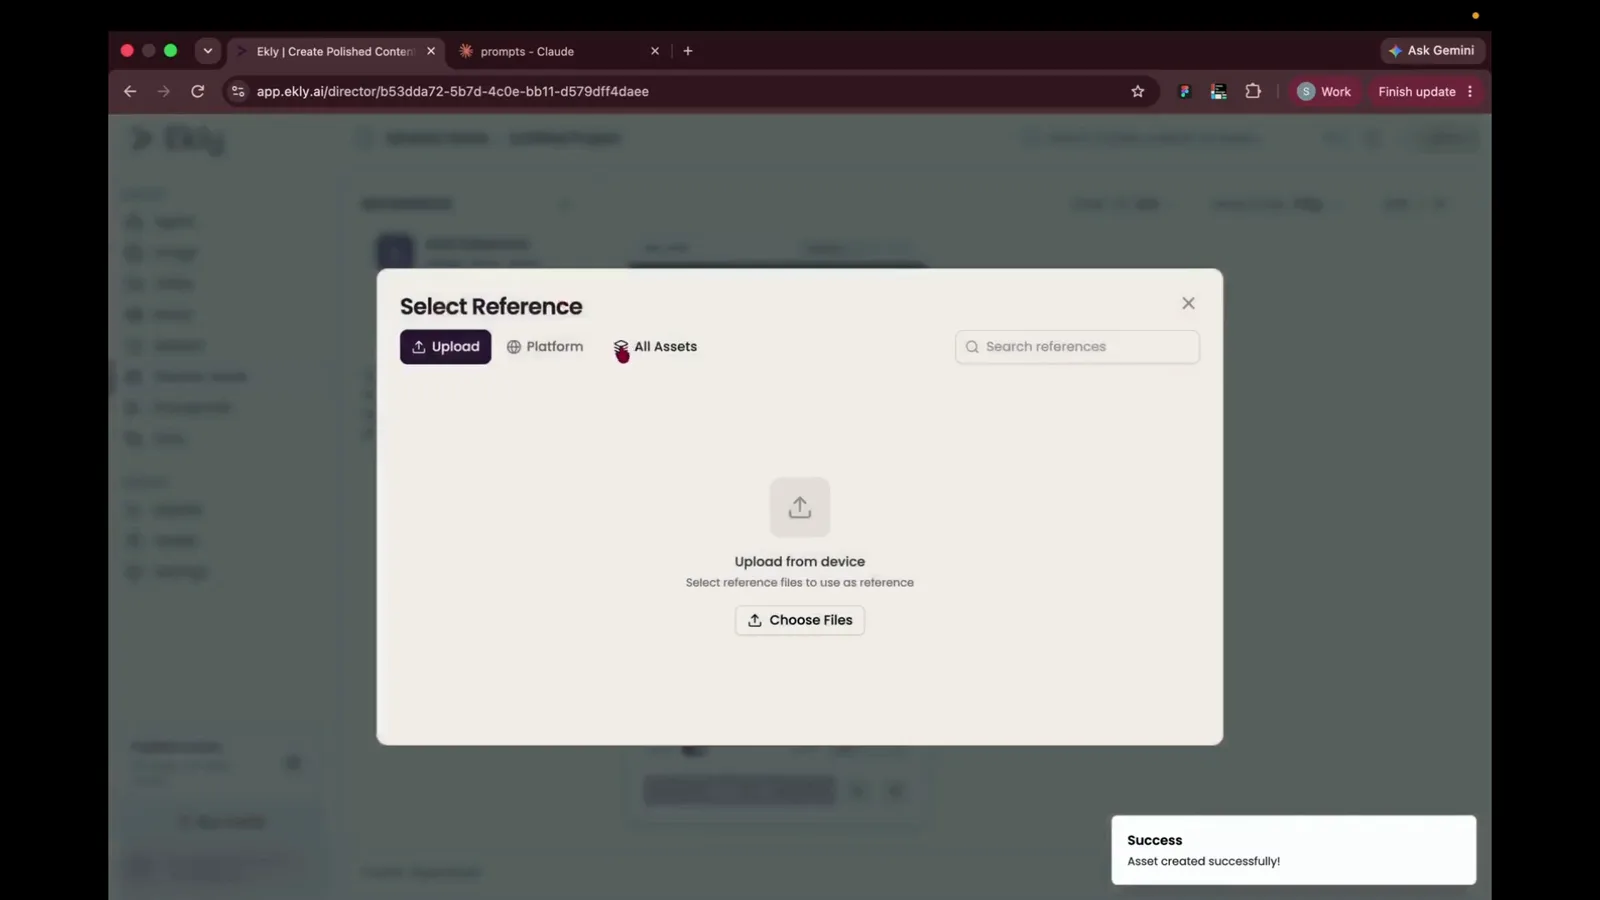
Step 5 “I'm going to add the asset in the reference section.”
- 6
Give the reference a short name
Click the reference chip and rename it to something you can type quickly — here, ReadingDuo — then click Save & Apply. You will use this name with
@in your script.Save & ApplyAsset rename popover inside References panelDirector Mode Canvas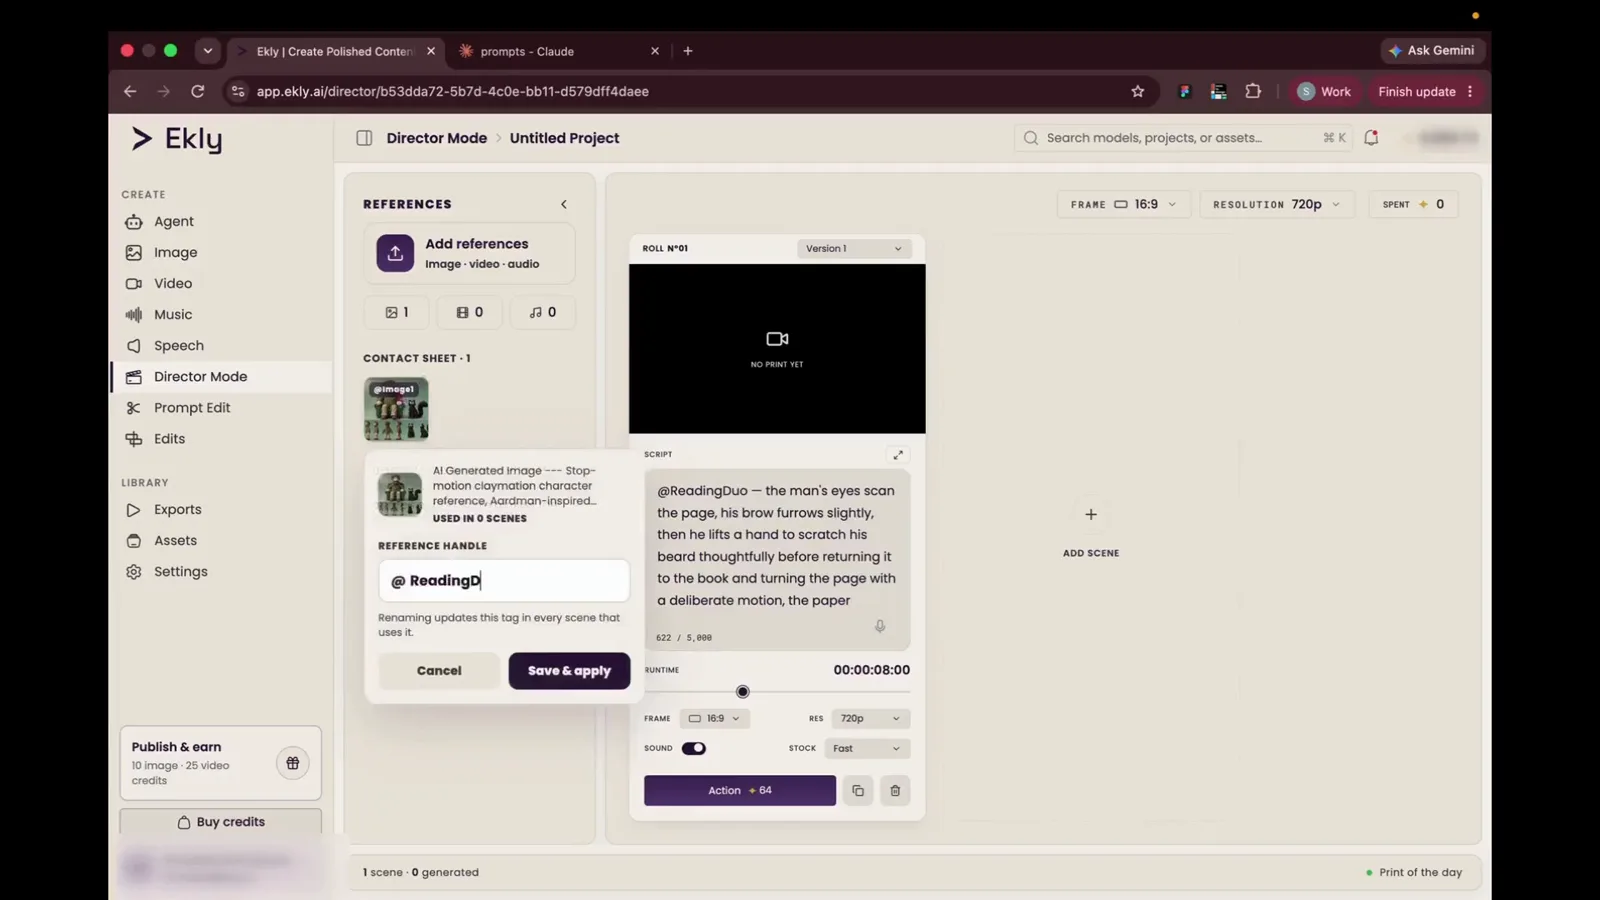
Step 6 “So we need to rename the image one as reading duo.”
Write prompts and generate scenes
- 7
Write the scene script
Paste or type your scene description in the Script field. Tag your character reference with
@ReadingDuoso the model keeps the look consistent.Script text areaBottom panel of Roll N°01 scene cardDirector Mode Canvas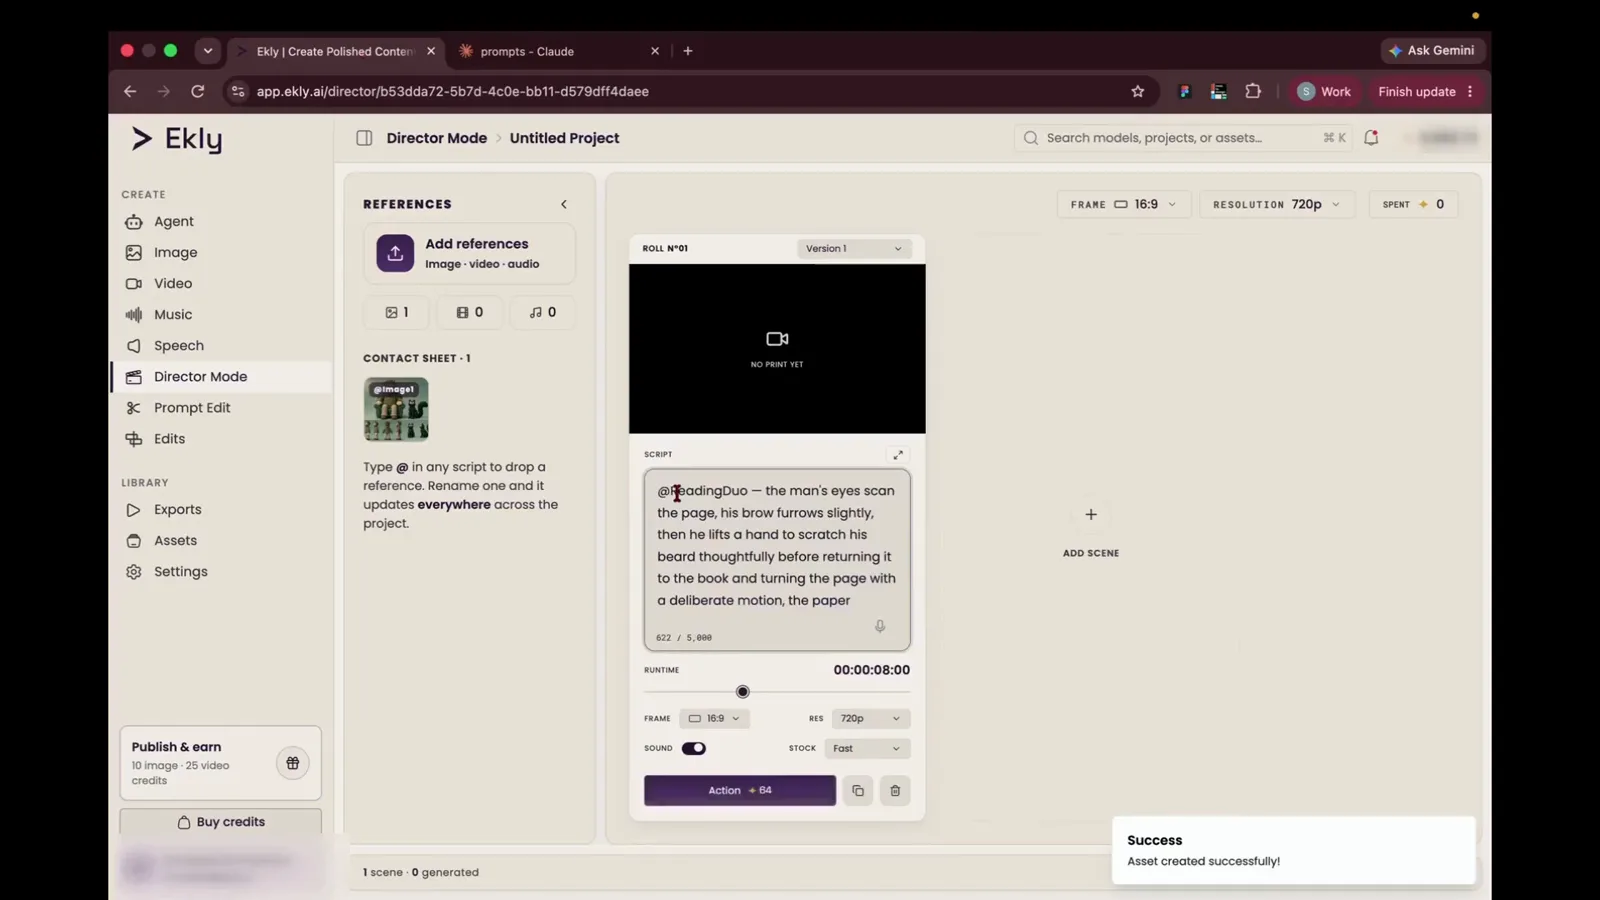
Step 7 “So let me go ahead and copy the first scene prompt and paste it in the script placeholder.”
- 8
Set duration and generate scene 1
Adjust the runtime to the length you need — here, 5 seconds — then click Action to render the first roll.
Action buttonBottom right of Roll N°01 scene cardDirector Mode Canvas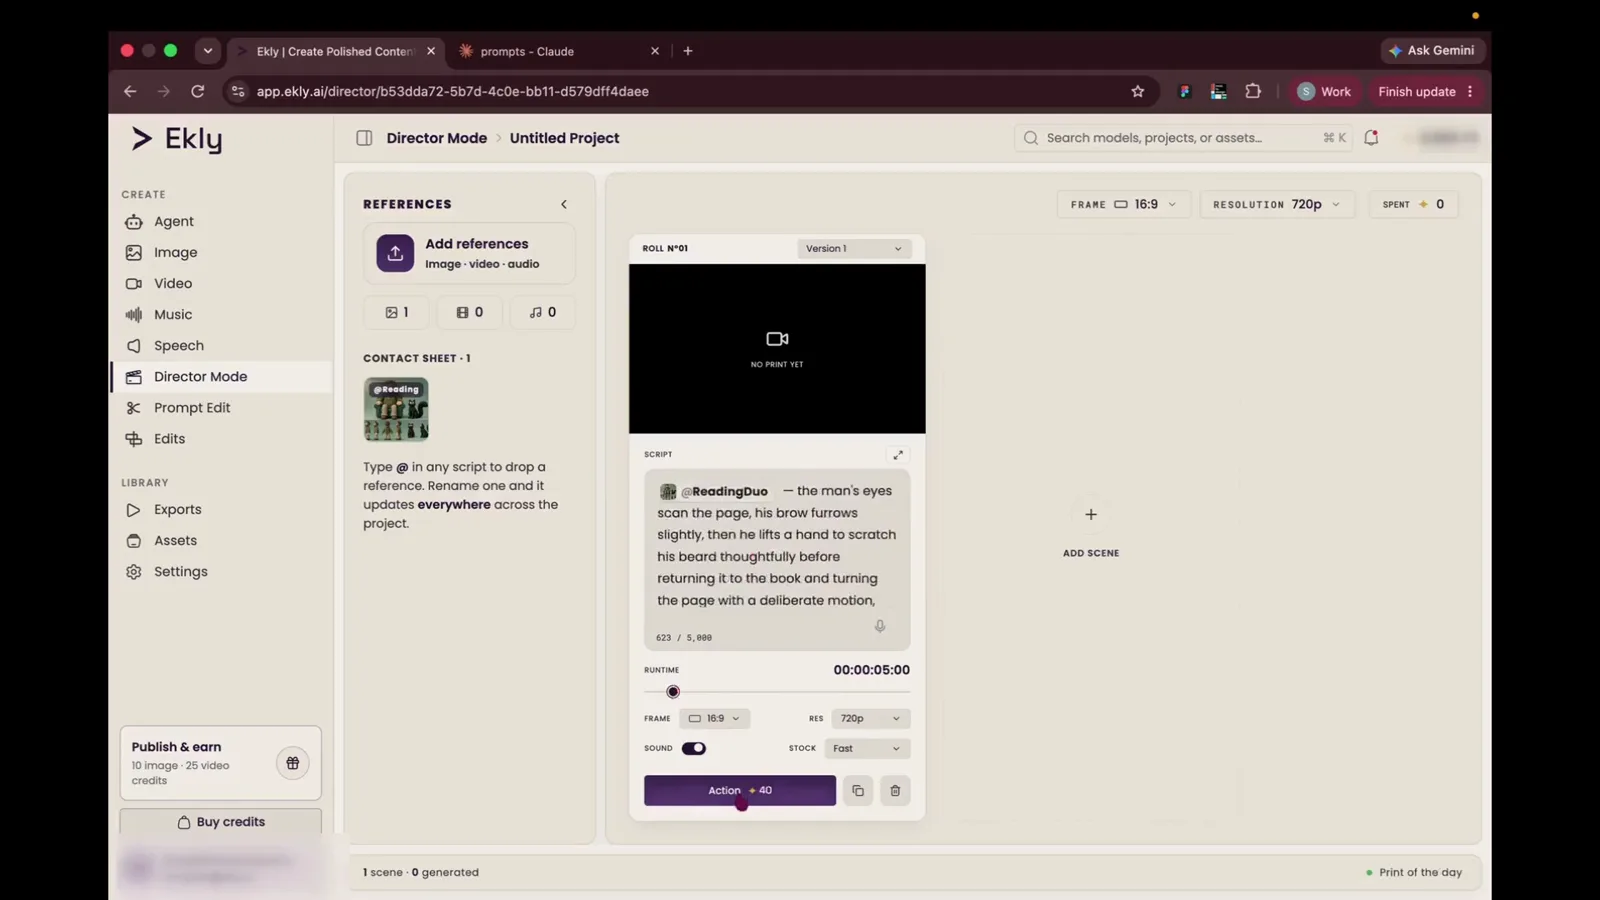
Step 8 “So I have adjusted the time, and I am going to hit action.”
- 9
Preview scene 1
When the roll finishes, click the preview thumbnail on the scene card to watch the generated clip before moving on.
Video player preview thumbnailCenter of Roll N°01 scene cardVideo Preview ModalGenerated result - 10
Add a second scene
Click + ADD SCENE on the right side of the canvas to append the next roll to your storyboard.
ADD SCENE button (+ icon)Right side of the workspace canvasDirector Mode Canvas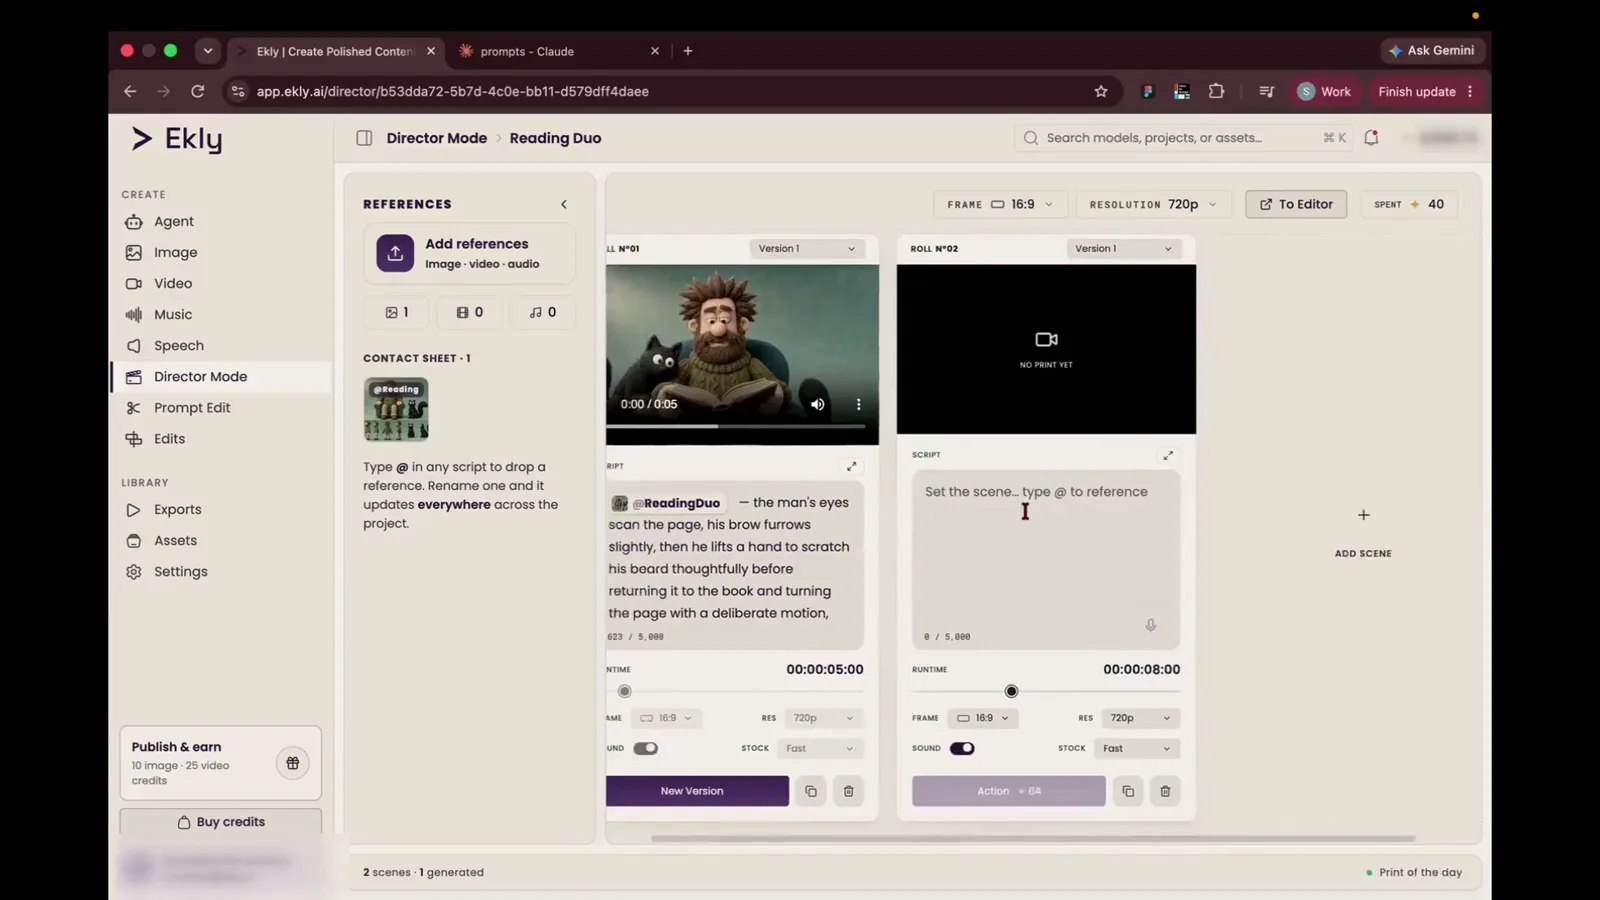
Step 10 “So I have added a new scene.”
- 11
Generate scene 2
Paste the script for roll 2, set the duration — here, 7 seconds — and click Action again. The same
@ReadingDuoreference carries over.Action buttonBottom right of Roll N°02 scene cardDirector Mode Canvas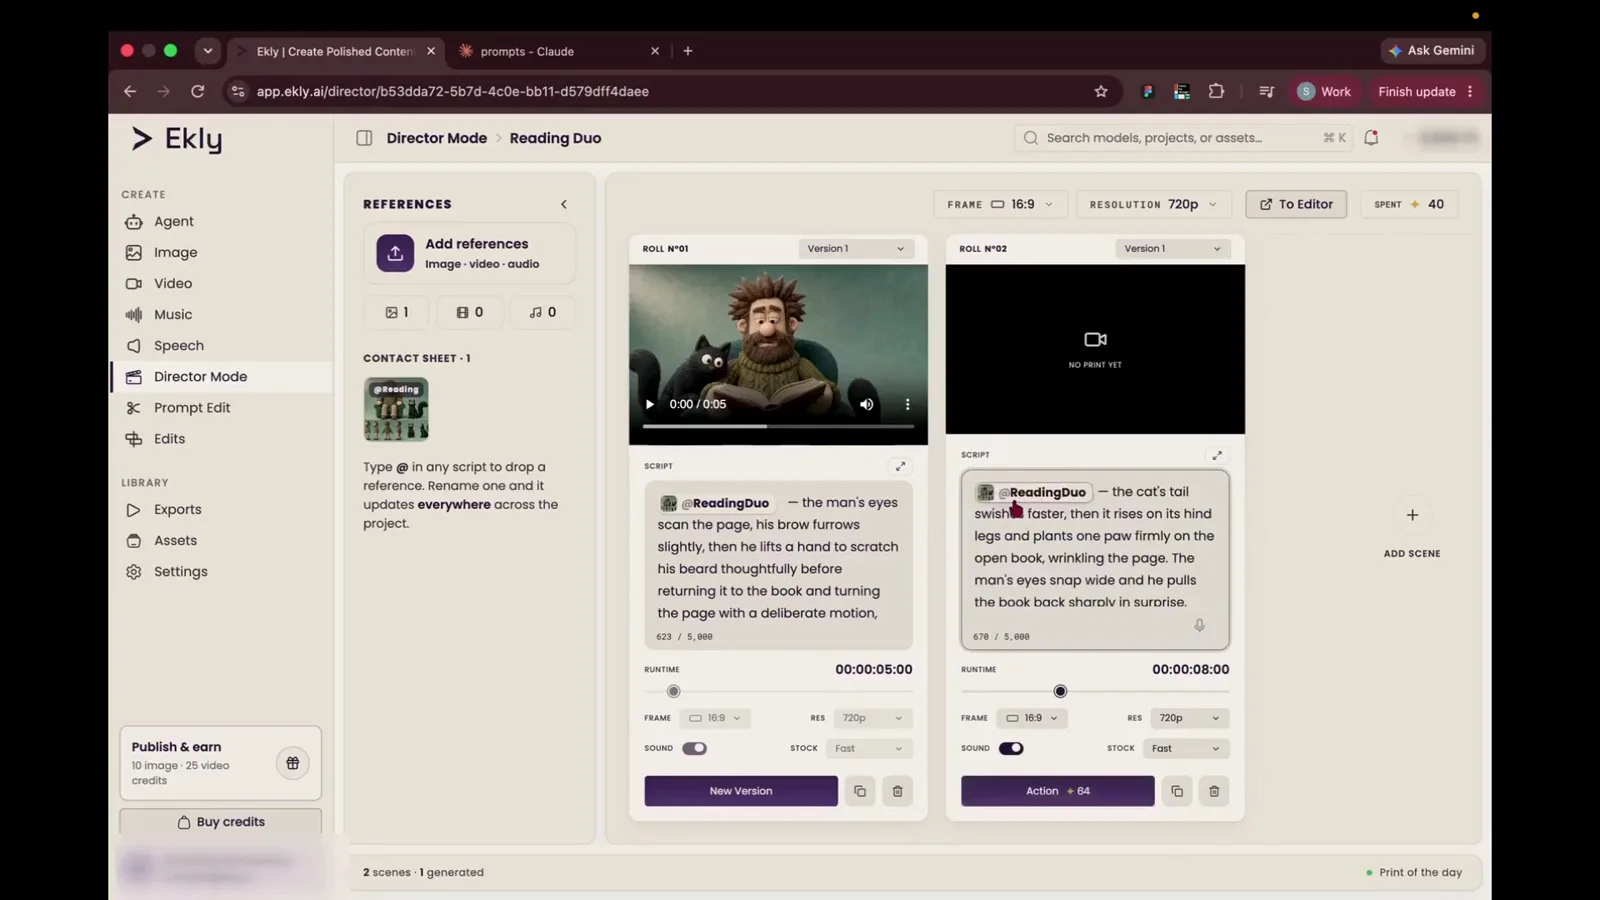
Step 11 “I will paste it here... And I want this to be, let's say, 7 seconds. Let me hit action again.”
Edit and export the final video
- 12
Open the timeline editor
When both rolls look right, click To Editor in the top toolbar to load every scene onto the timeline as one project.
To EditorTop header right toolbarDirector Mode Canvas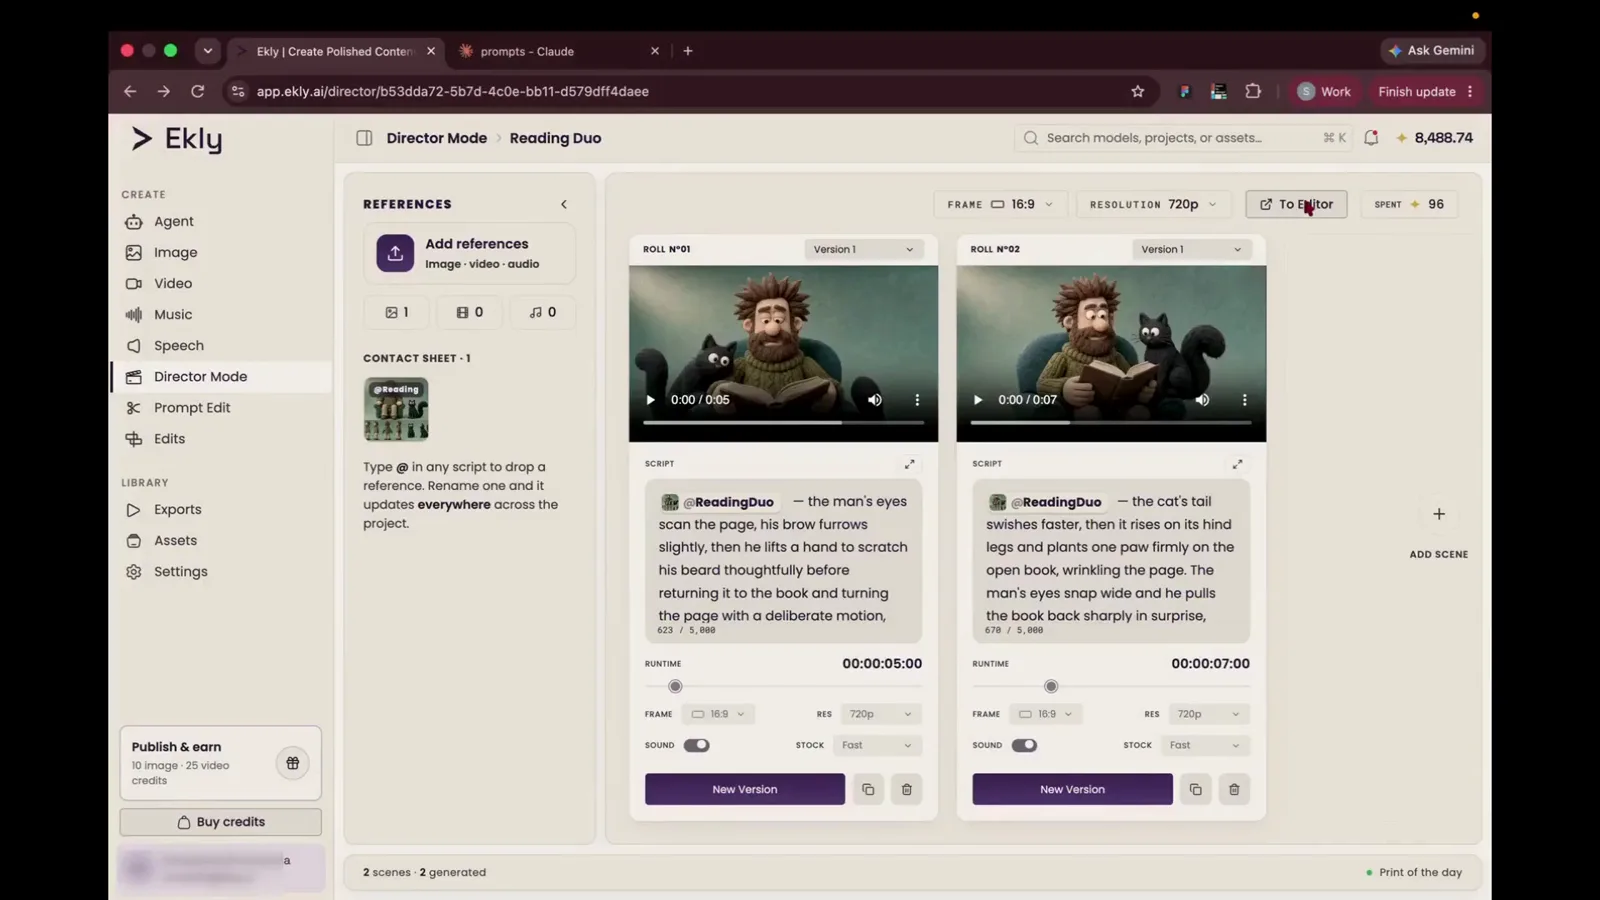
Step 12 “Let's go to the editor to get the final video.”
- 13
Export the joined video
Review the clips on the timeline, trim if you need to, then click Export Video in the top-right corner.
Export VideoTop right corner of the Editor headerEkly Video Editor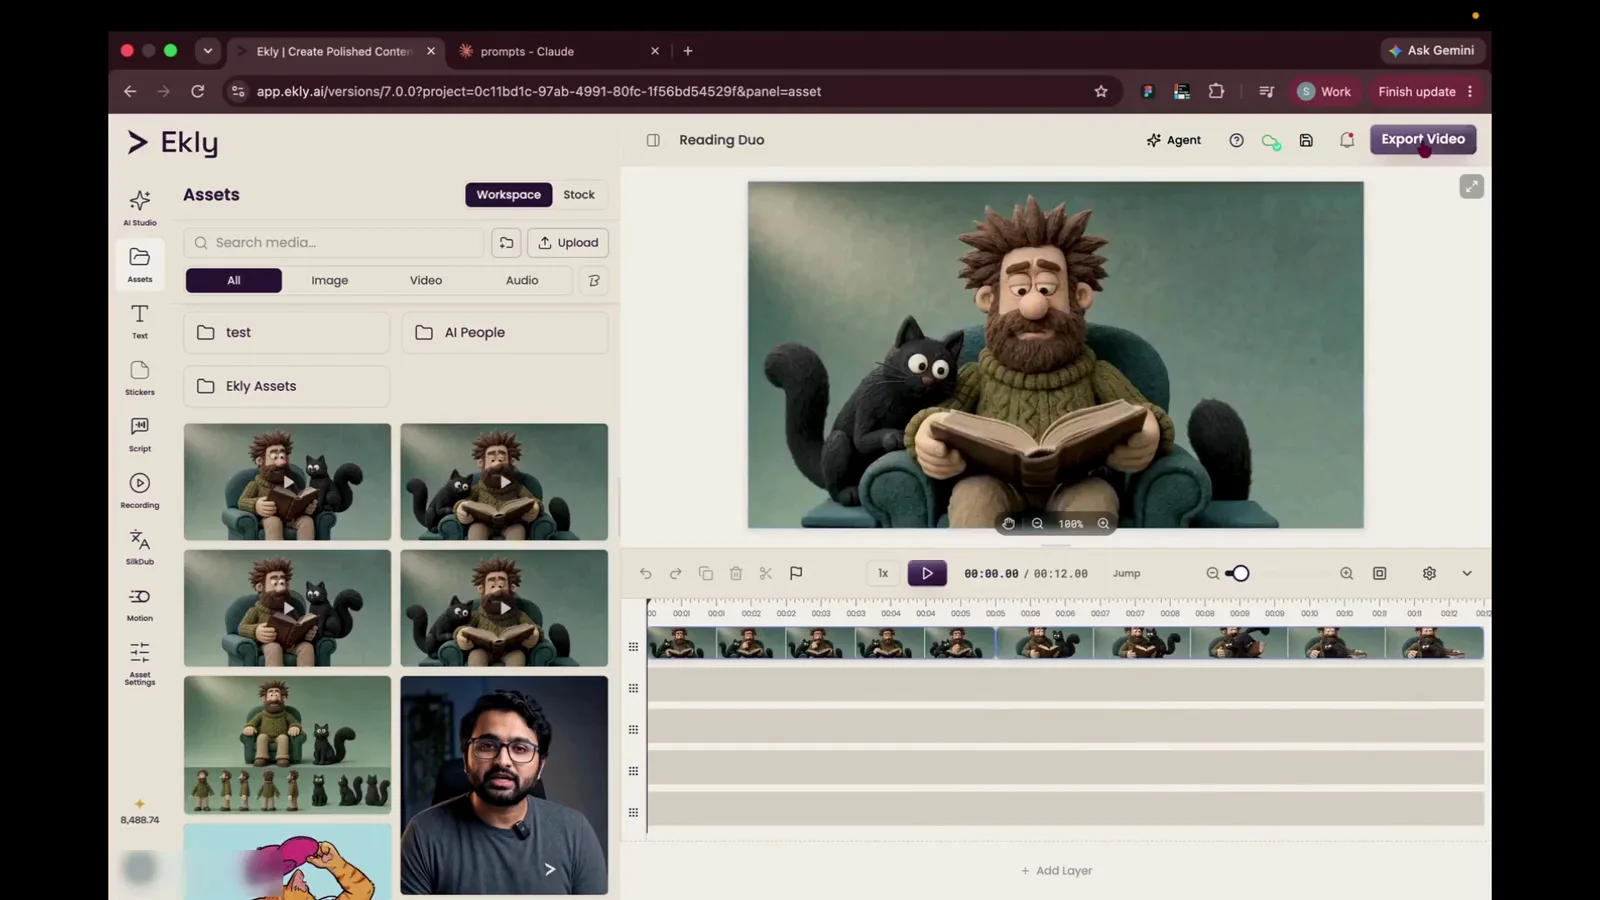
Step 13 “I'm happy with the result, so I'll click on export video.”
- 14
Choose quality and start the render
Pick an output preset — High Quality or Maximum depending on where you are publishing — then click Start Export.
Start ExportExport settings overlay menuExport Settings Modal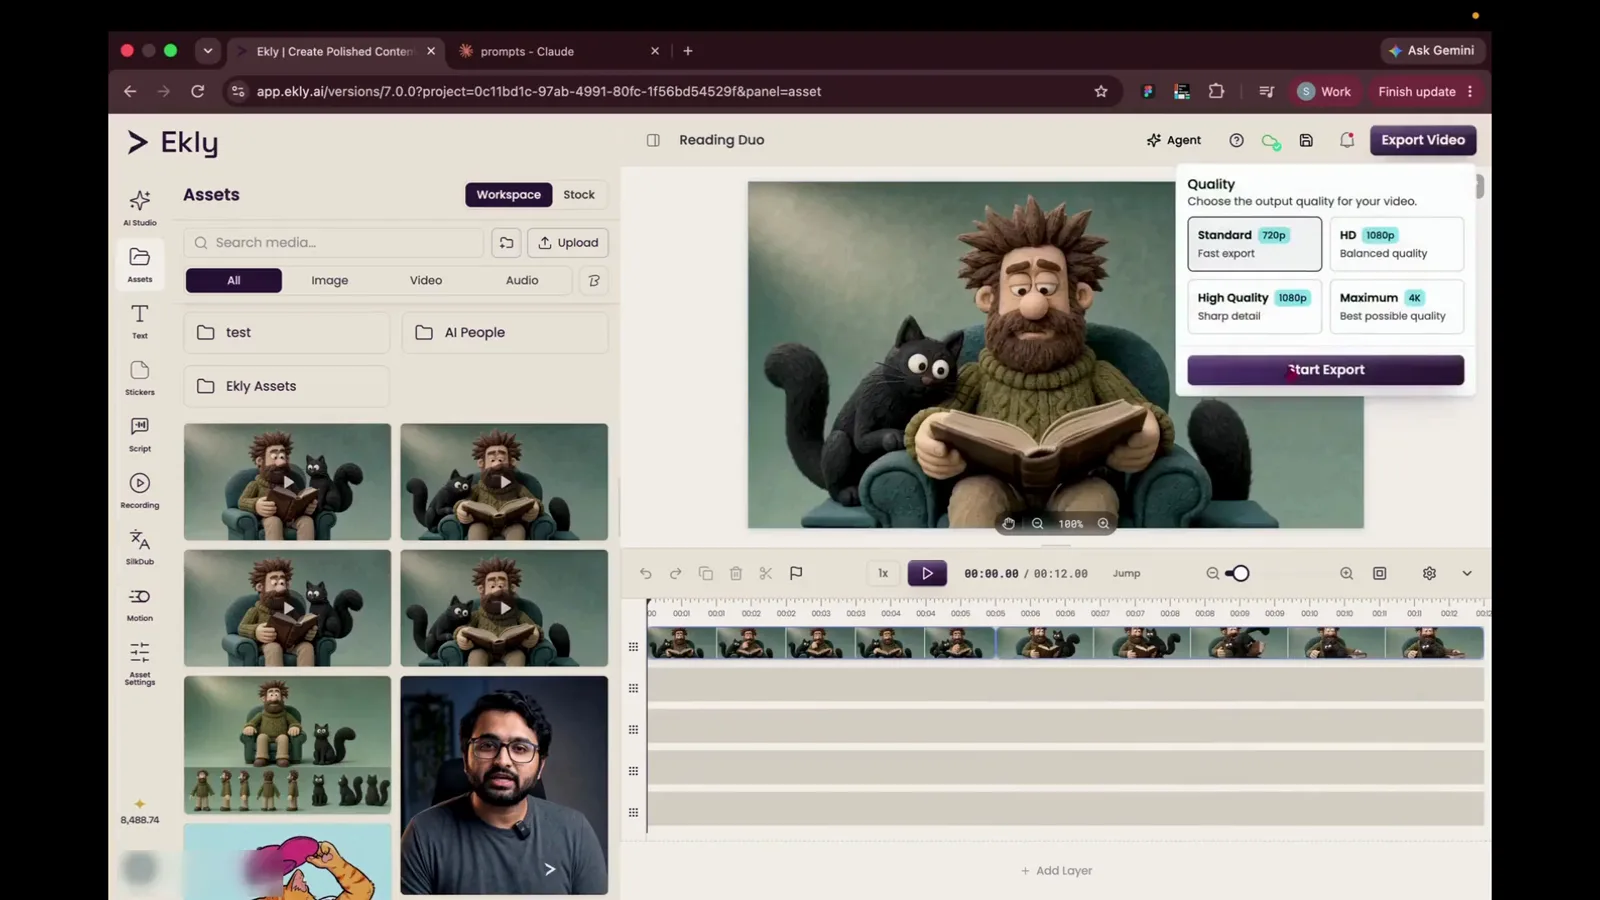
Step 14 “You can choose the quality of the video that you want and hit export.”
- 15
Download your finished video
When the render completes, open it from the Exports page, preview the full cut, and download the file.
Video preview canvas / Download buttonMain player on the Exports screenExports PageGenerated result