

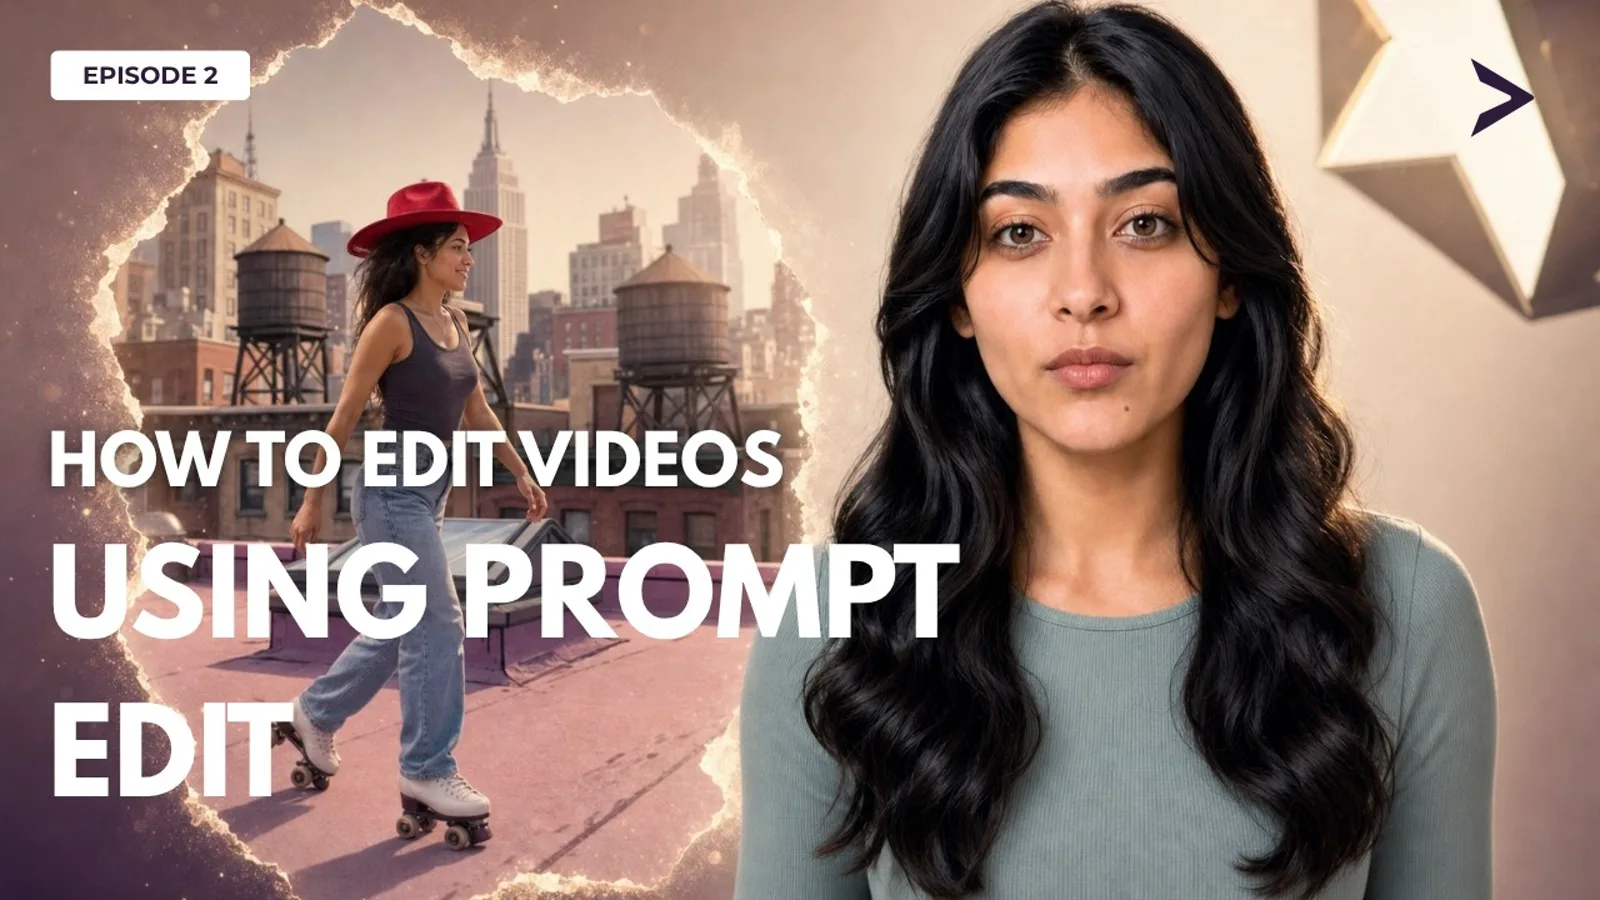
Prompt Edit lets you change one moment inside a clip you already have — upload the take, mark the range, describe what should be different, and stitch the generated version back over the original when you are happy with it.
Start a Prompt Edit project
- 1
Start a new Prompt Edit project
From the Prompt Edit dashboard, click New Prompt Edit in the top-right corner.
New Prompt Edit buttonTop right header of the Prompt Edit pageProjects Dashboard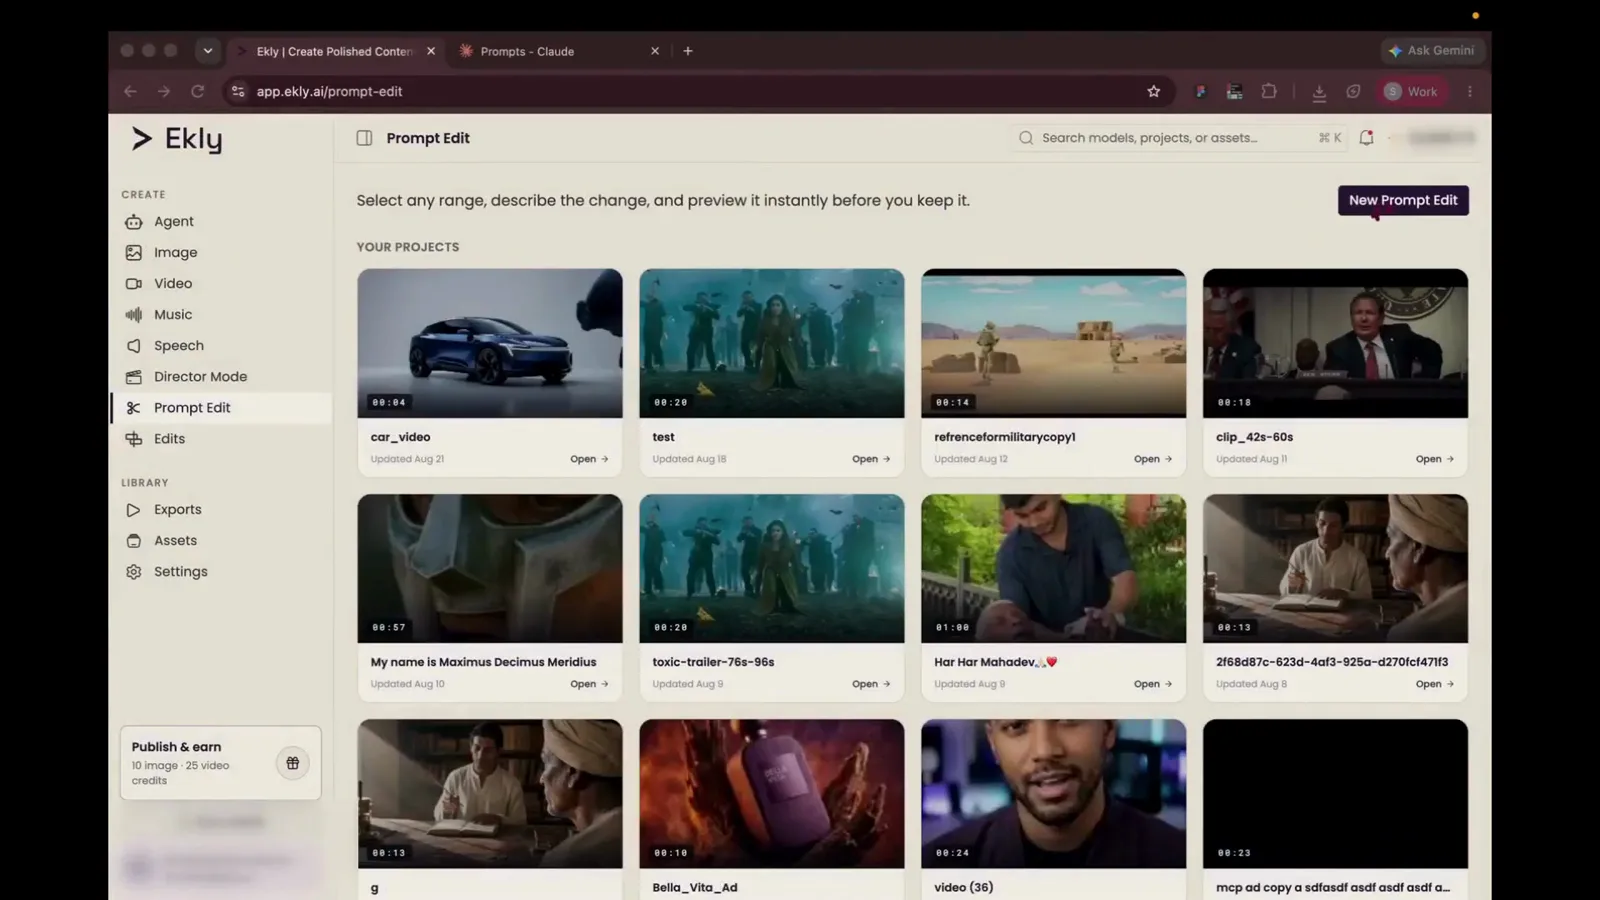
Step 1 “Today I'm going to show you how can you edit your videos using the prompt edit feature in Ekly.”
- 2
Choose your source video
Prompt Edit works on a clip you already have. Click the upload card in the center of the dialog to pick one.
Choose or upload a video cardCenter modal dialogStart with one source video modal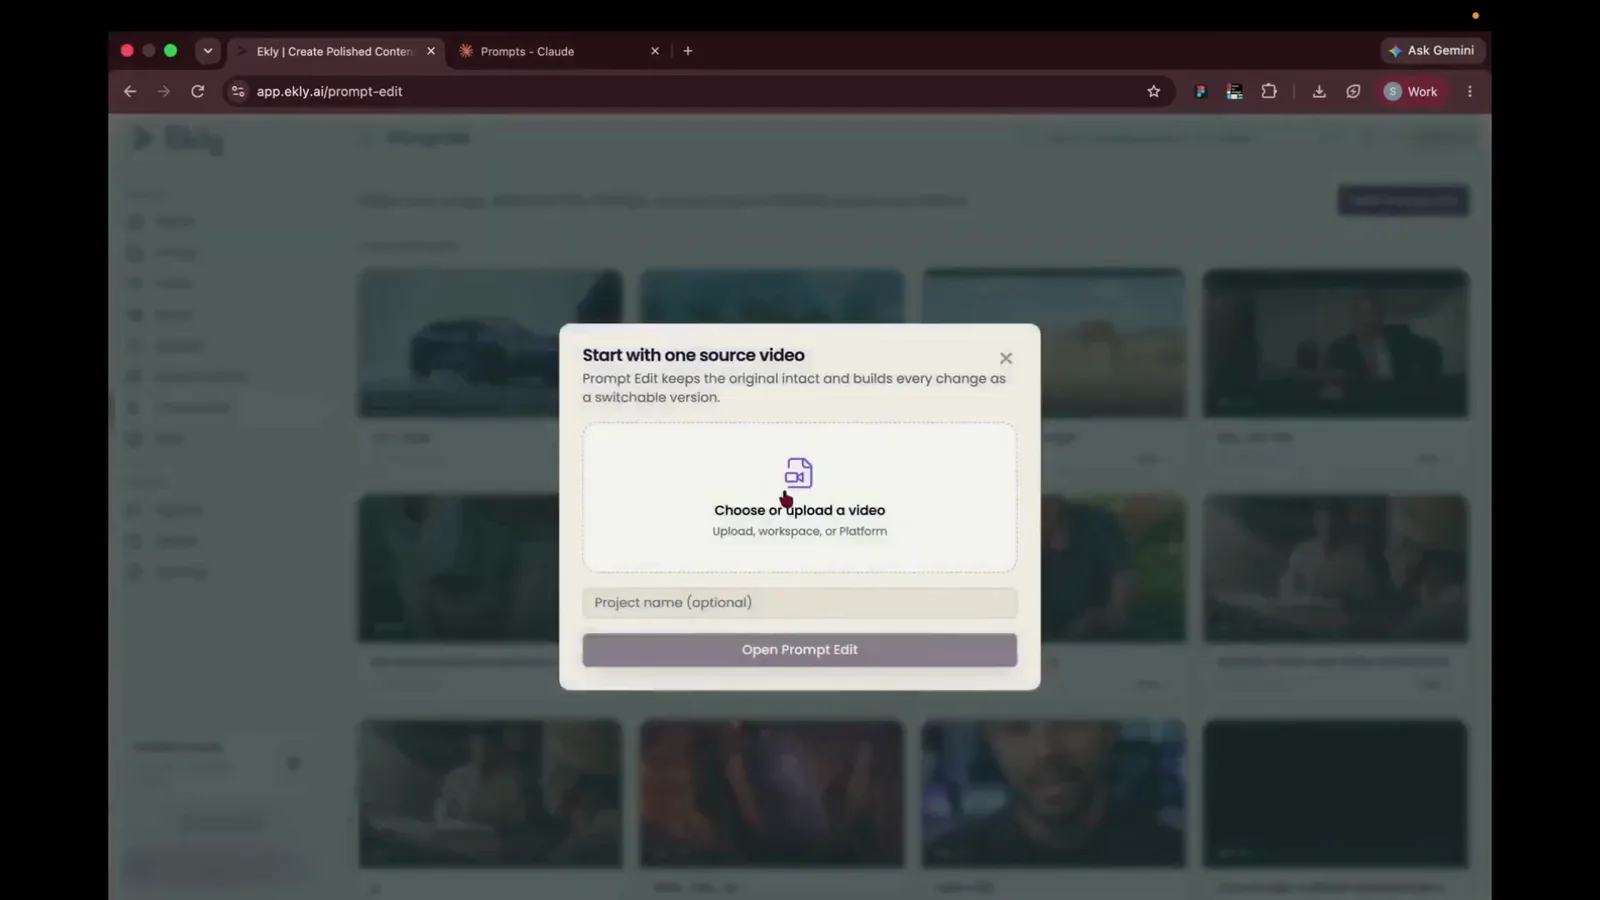
Step 2 “So the first step is we upload the video that we want to edit.”
- 3
Upload from your device
You can pull from your workspace or the platform library, but here we are uploading a local file — click Choose Files.
Choose Files buttonUpload area inside modalSelect Video modal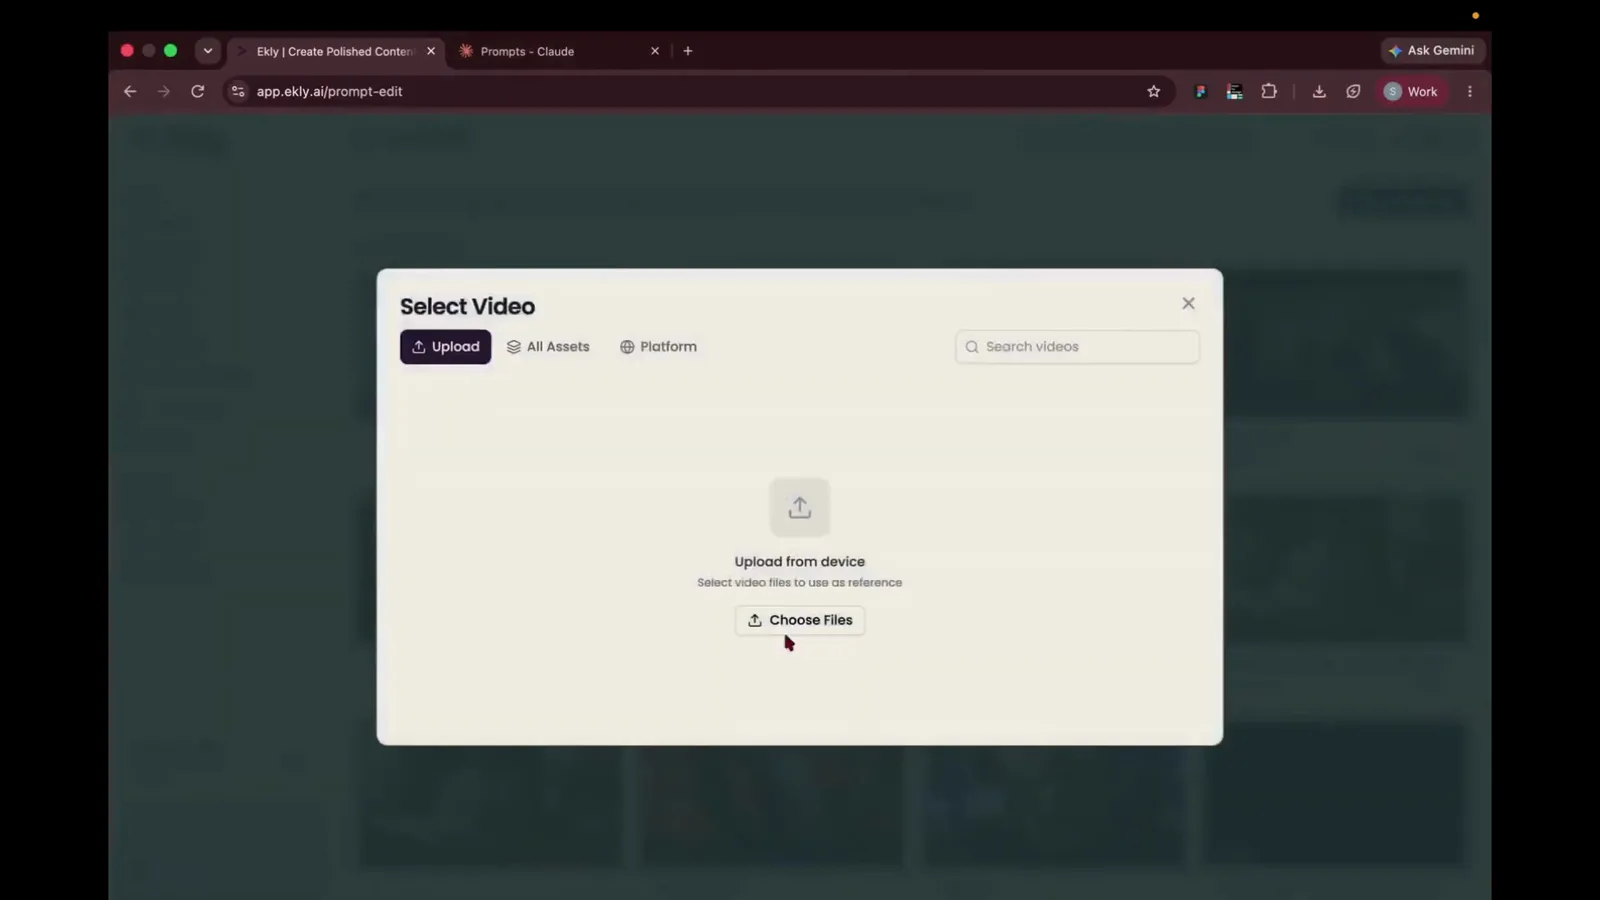
Step 3 “So I'll just use a video.”
- 4
Pick the clip you want to change
Select the video in the file picker and open it. This is the take that stays intact underneath every edit.
Open buttonBottom right of system file pickerFile Chooser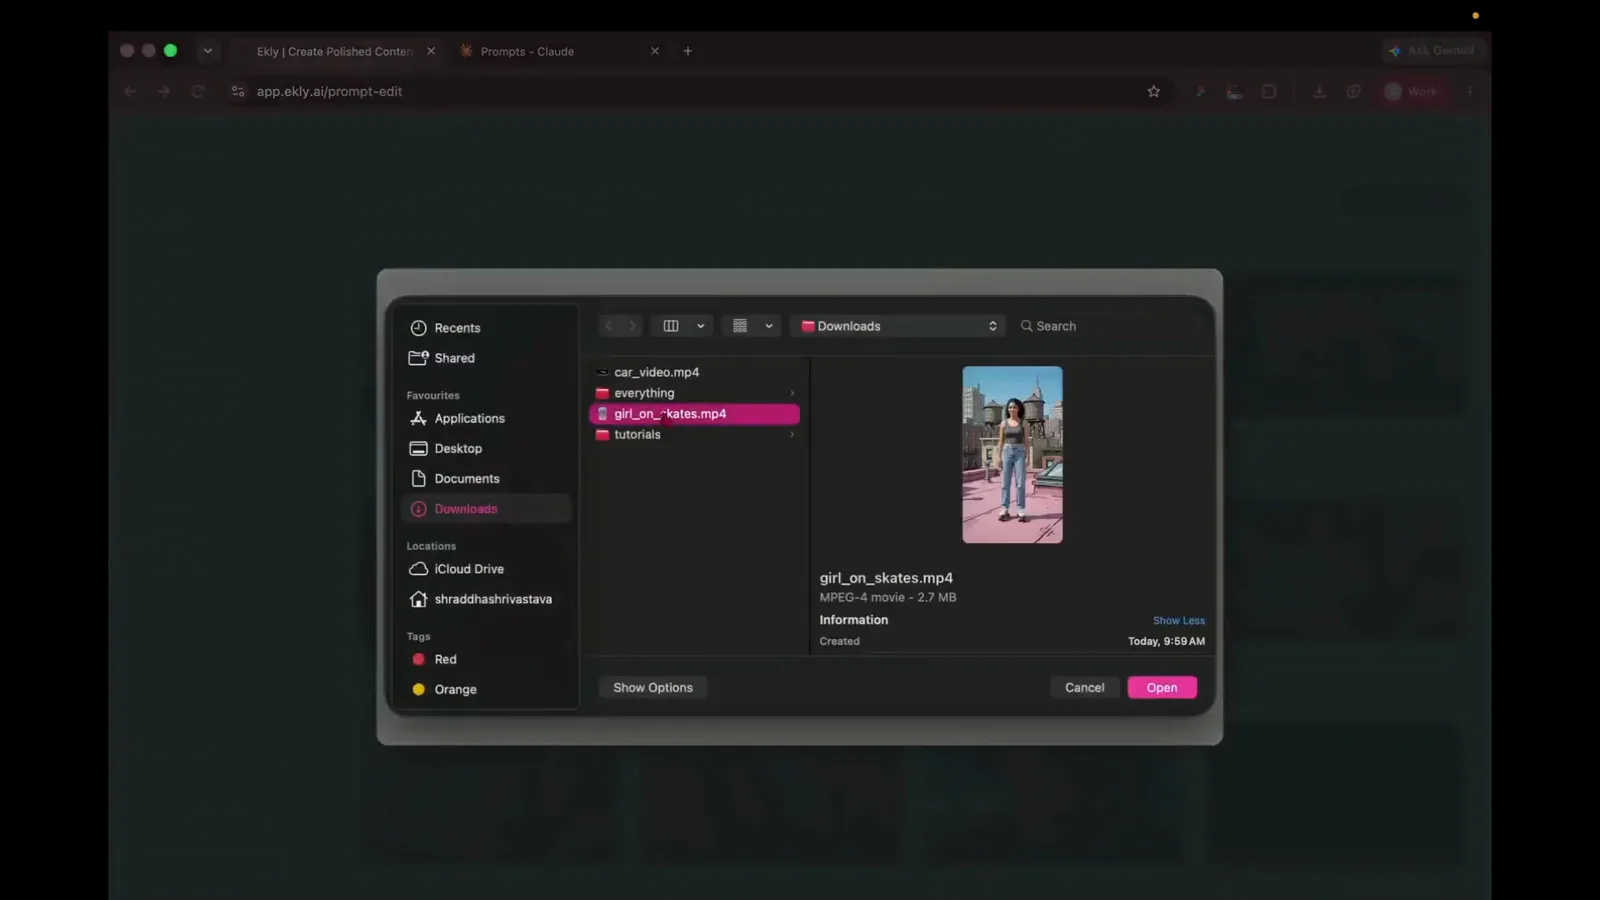
Step 4 “So I'll just use a video.”
- 5
Open it in the editor
Give the project a name if you want one, then click Open Prompt Edit to load the clip into the cutting room.
Open Prompt Edit buttonBottom center of modal dialogStart with one source video modal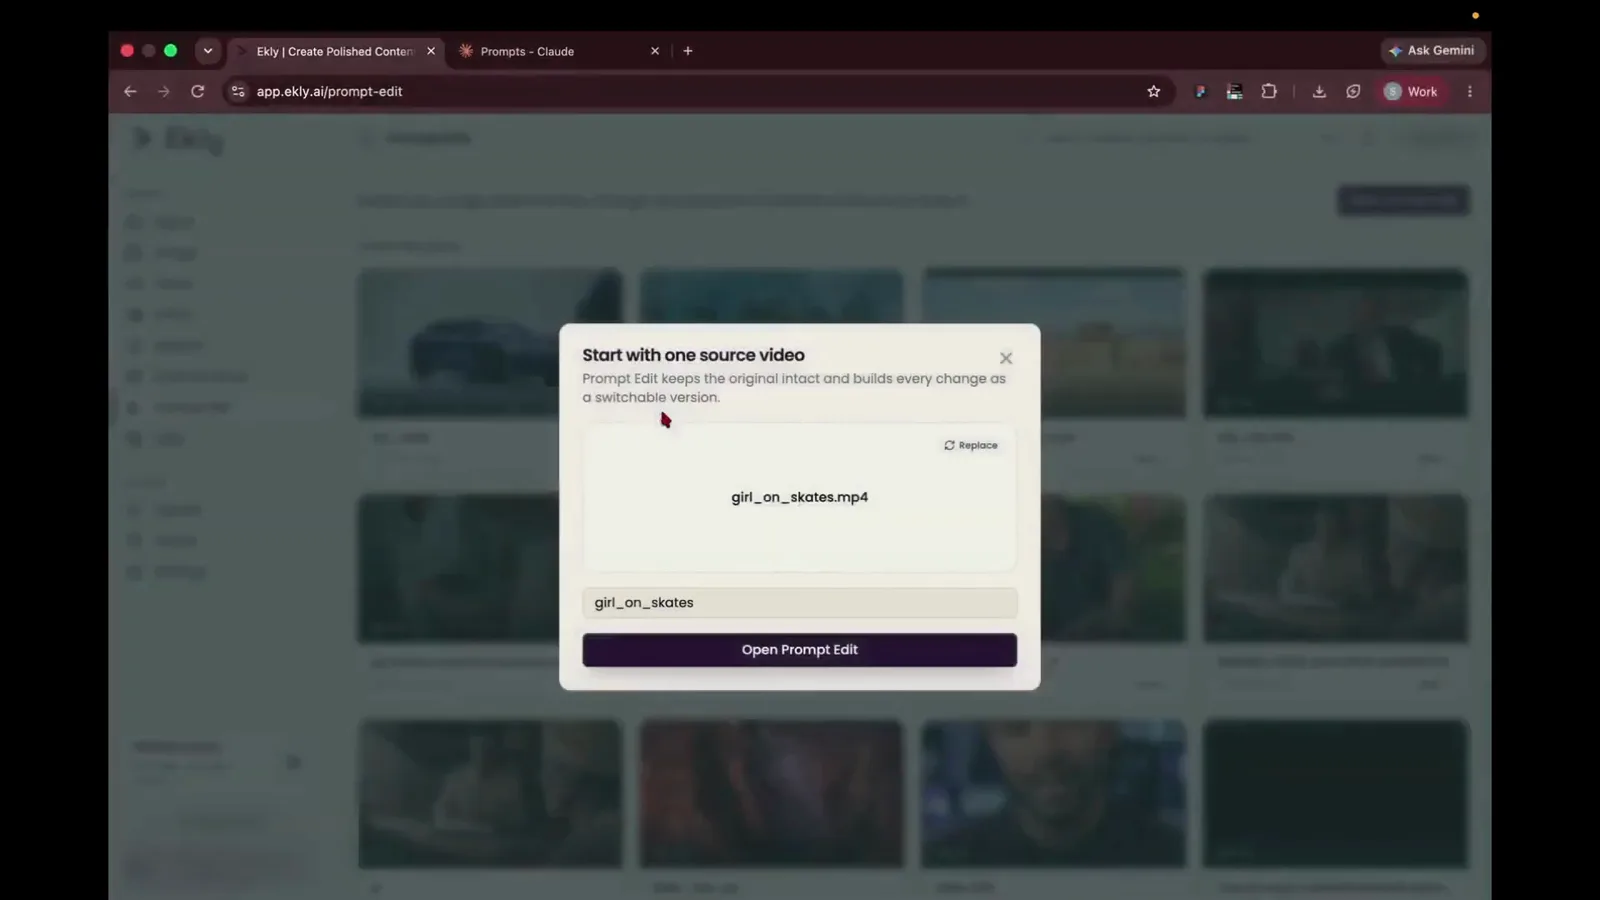
Step 5 “So you can see this is a perfectly fine video.”
Mark the range and describe the change
- 6
Mark the range you want to change
Drag across the timeline to select only the moment that should change. Everything outside the range stays exactly as filmed.
Timeline track selection regionBottom timeline panelPrompt Edit Editor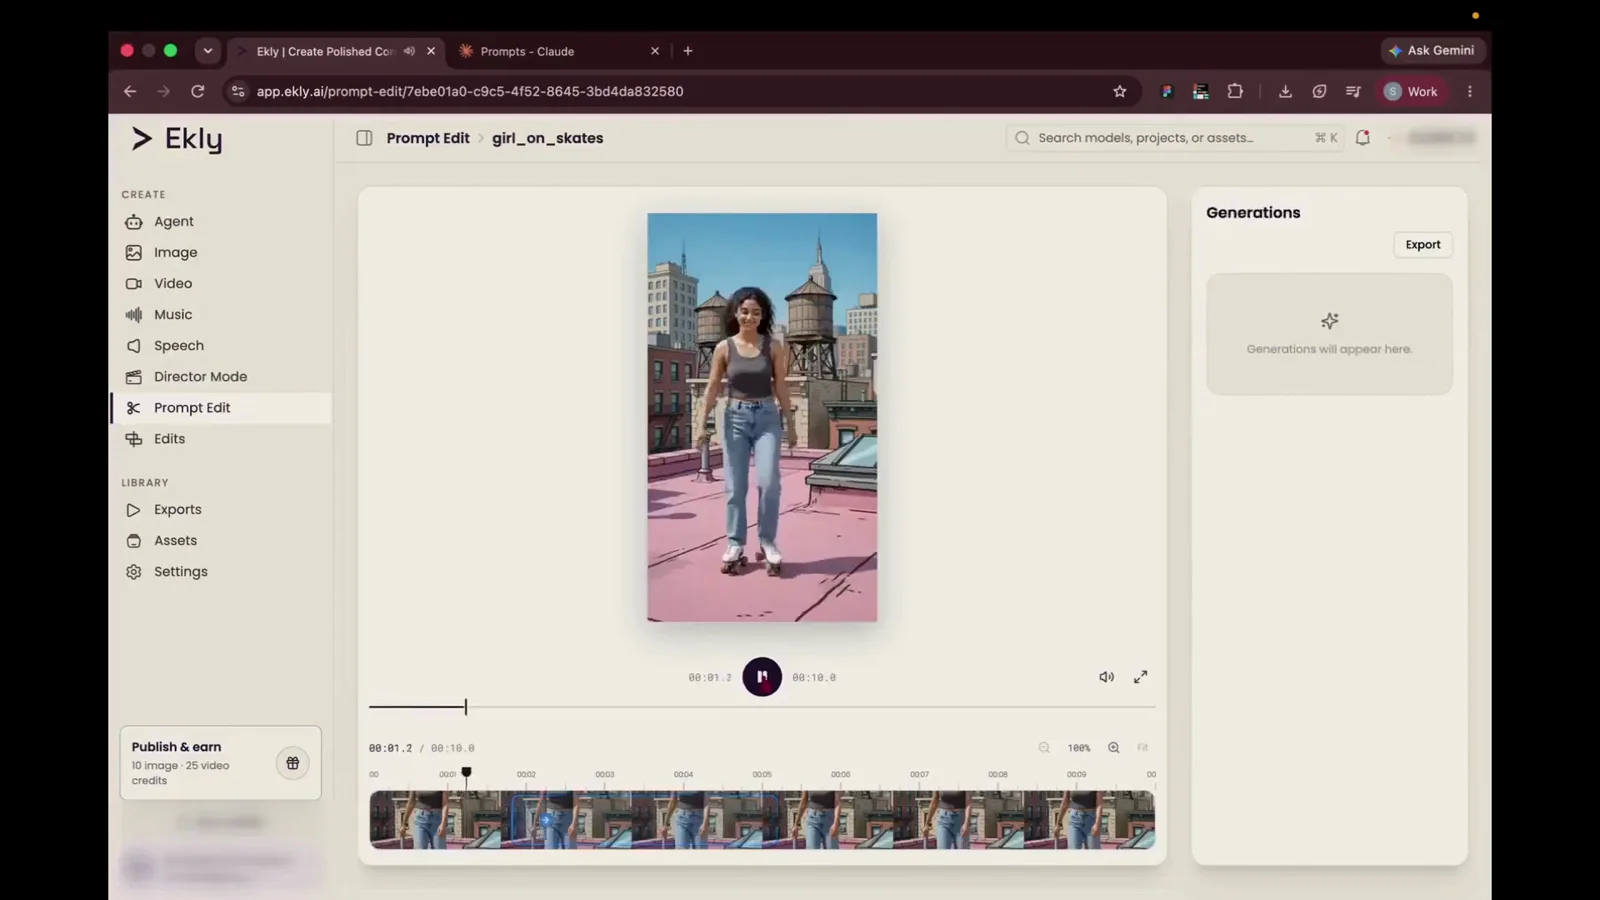
Step 6 “So the first step is we select the section of the timeline that we want to edit.”
- 7
Describe the change in plain words
Say what should be different, not what the shot already contains — here, something like "I want the girl to wear a red hat".
Describe change text input fieldDescribe this change popoverPrompt Edit Editor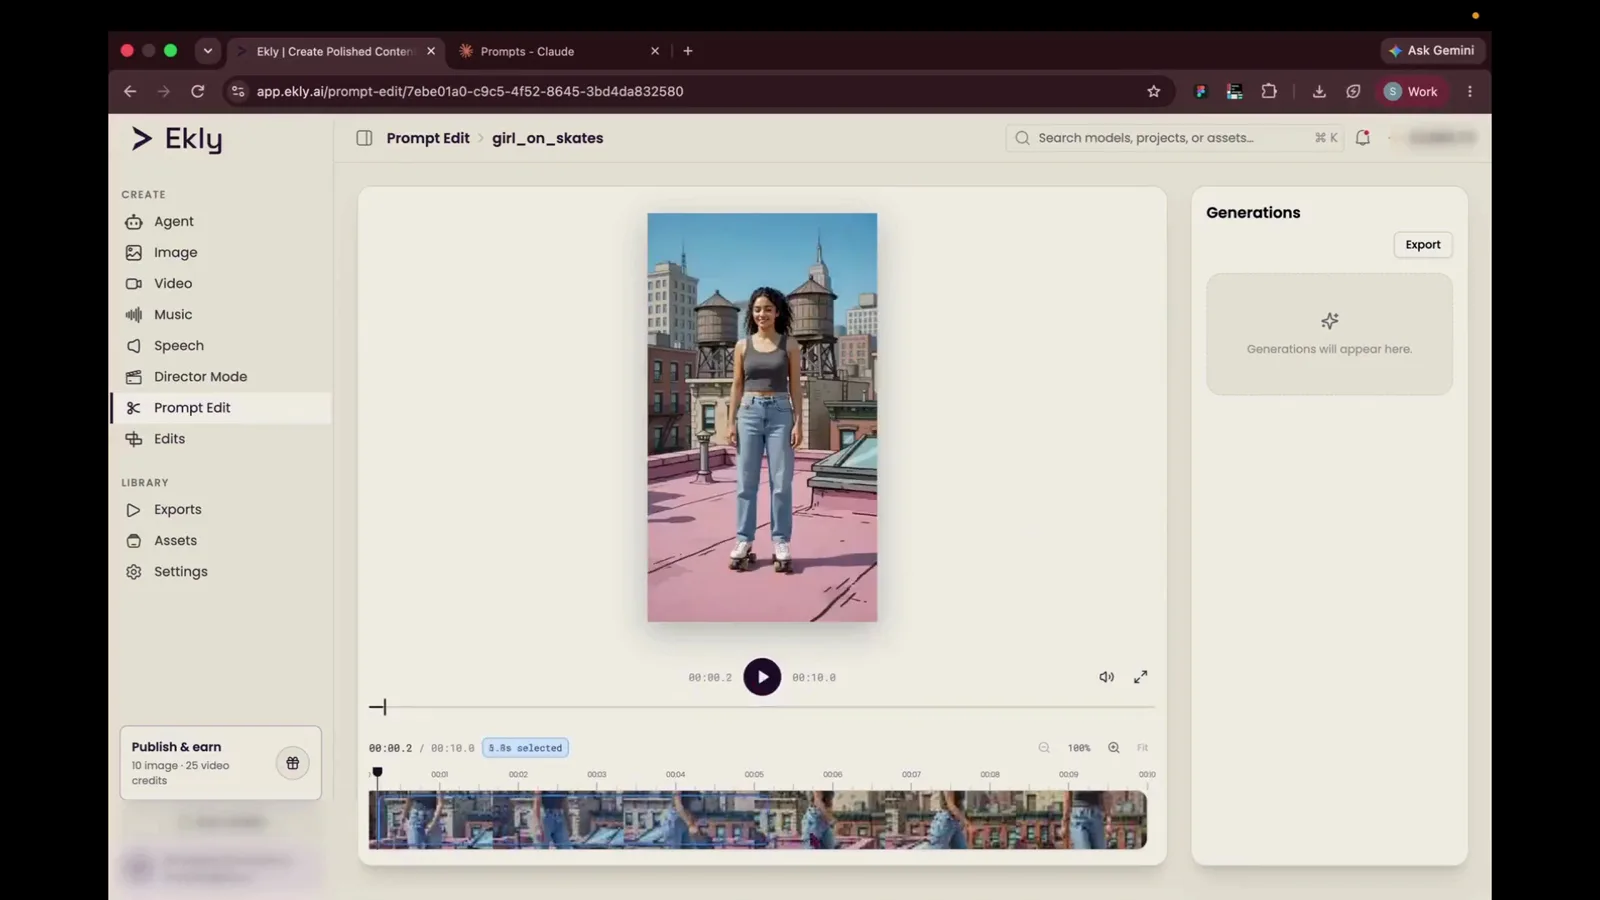
Step 7 “So I will select that area, and I will describe my change.”
- 8
Generate the new version
Click Generate. The original is untouched — this produces a separate version you can accept or throw away.
Generate buttonBottom right of edit popoverPrompt Edit Editor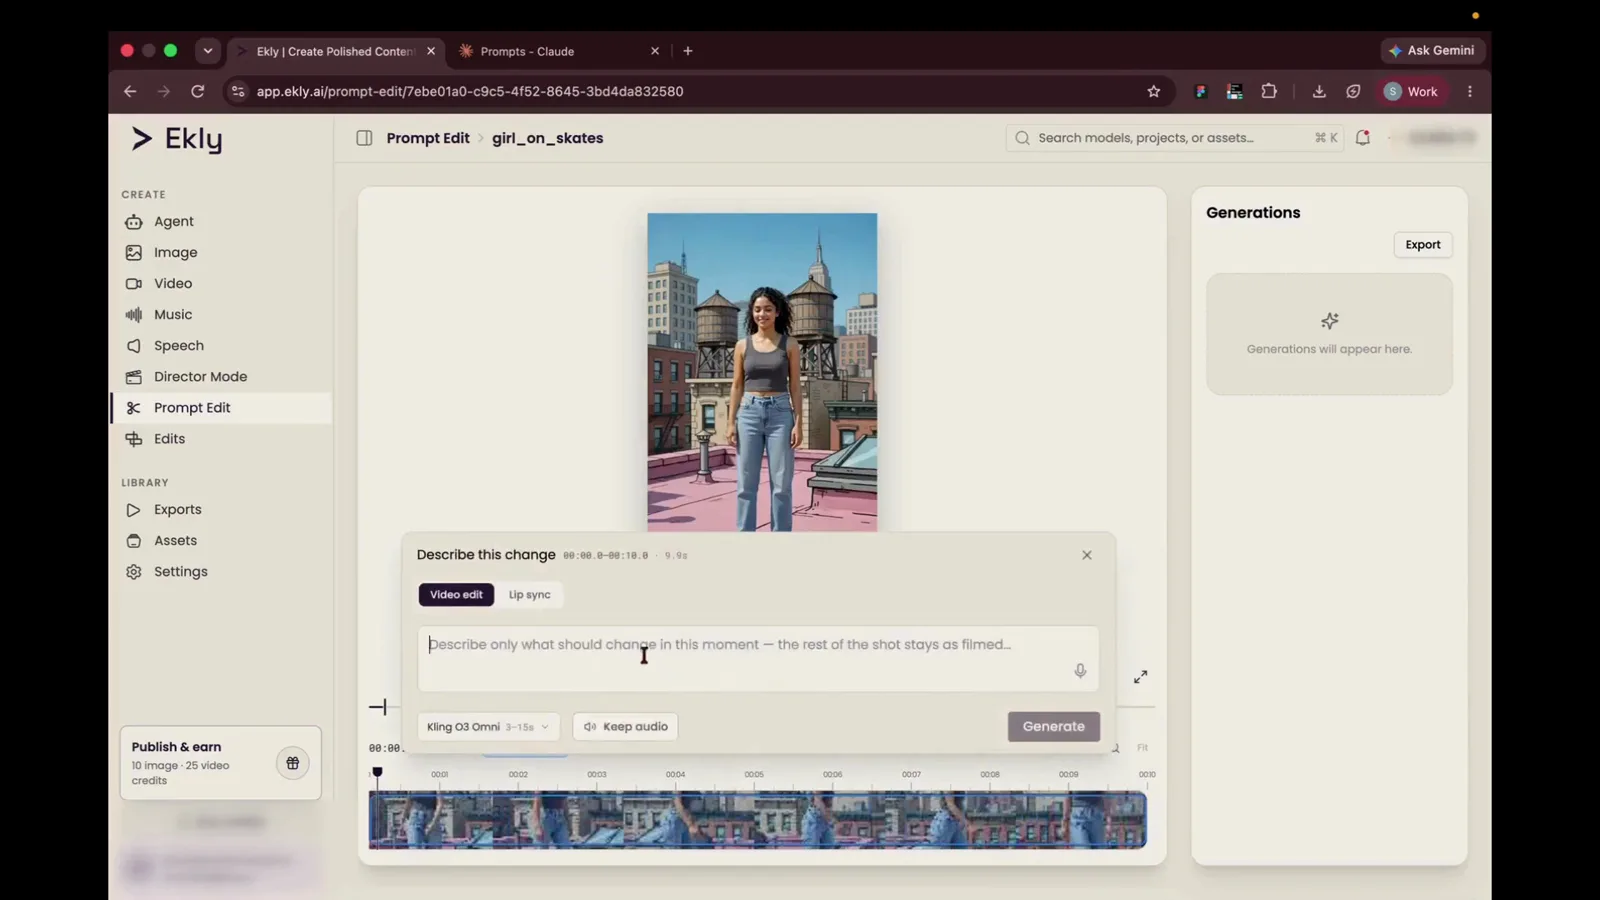
Step 8 “So let's hit Generate.”
Review the result and keep it
- 9
Keep the take
Happy with it? Click the checkmark on the generated clip to stitch it back over the original timeline.
Checkmark confirm buttonRight side of generated track segment on timelinePrompt Edit Editor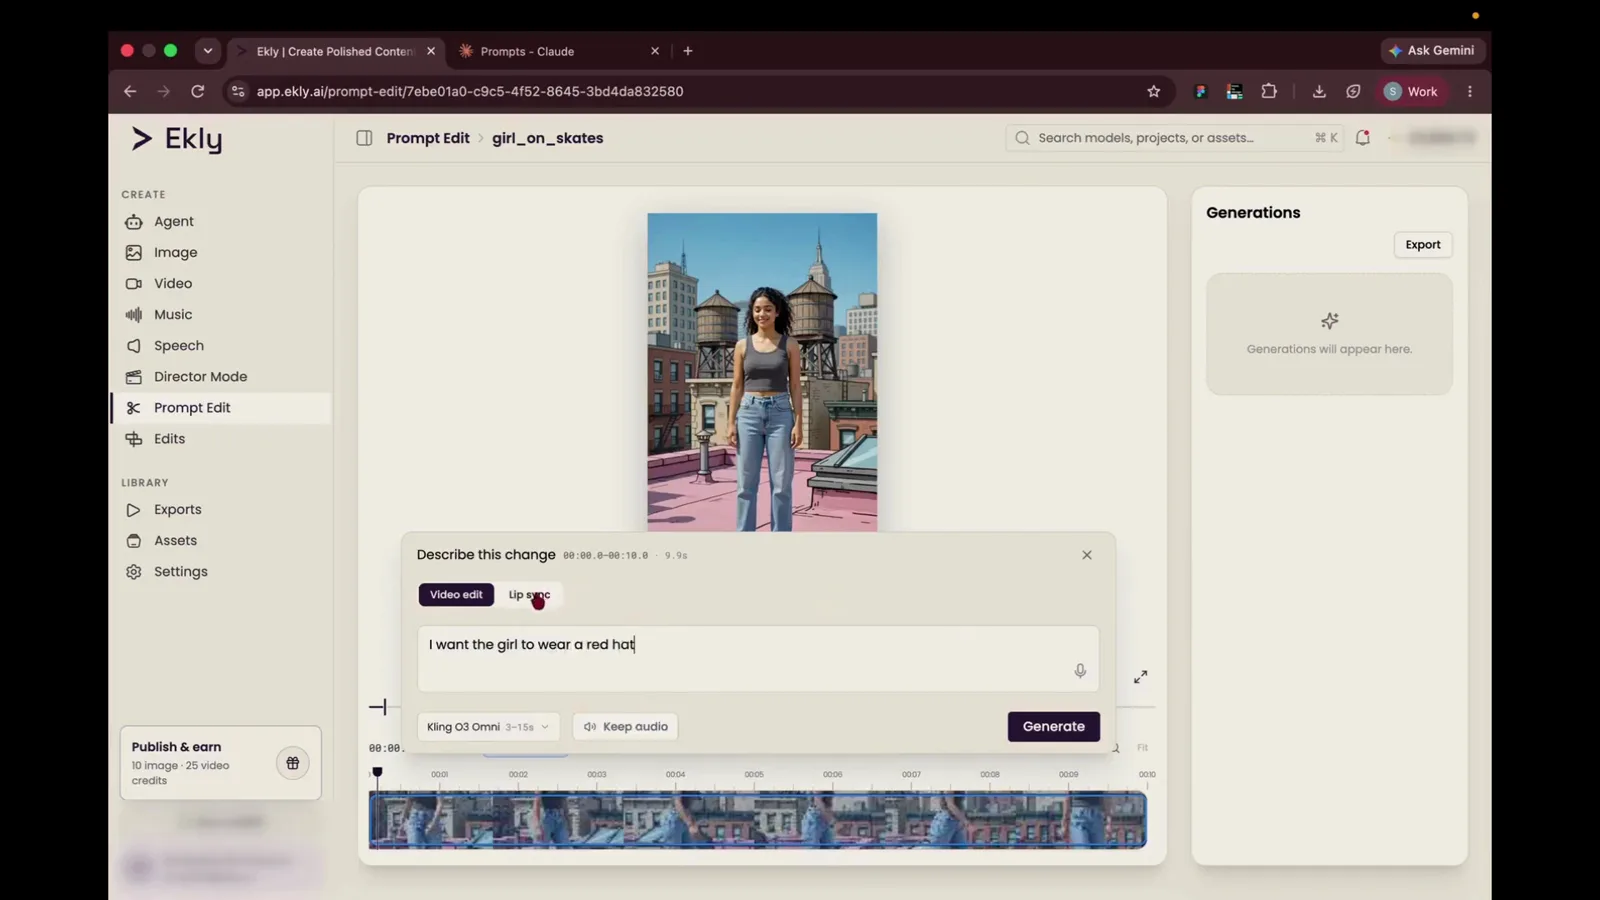
Step 9 “So when you're happy with the result, you can just use this to stitch this video on top of your original video.”
- 10
See the generated edit
The preview shows the change applied — here, the skater is wearing the red hat you described, while the rest of the clip stays as filmed.
Video player canvasCenter workspace areaPrompt Edit EditorGenerated result